Phase 1: Transport Operation
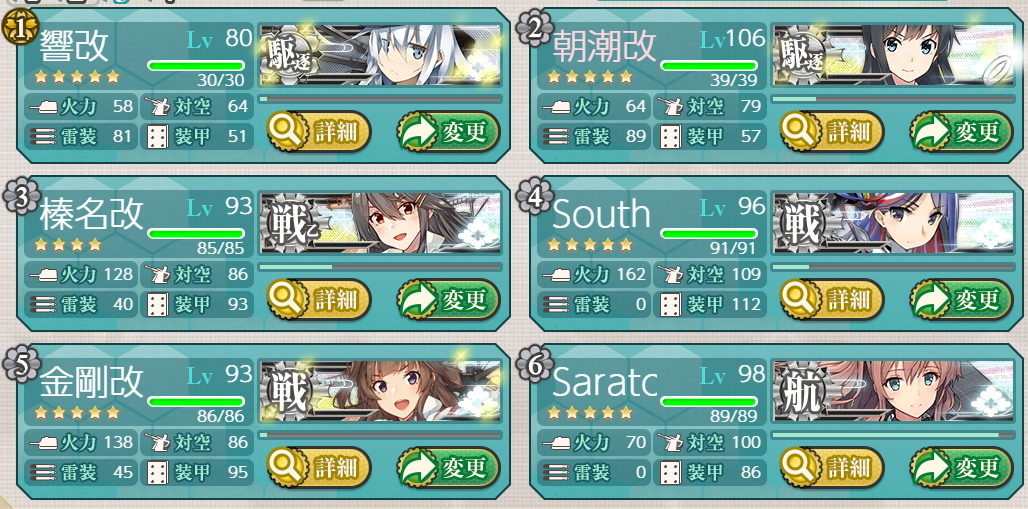
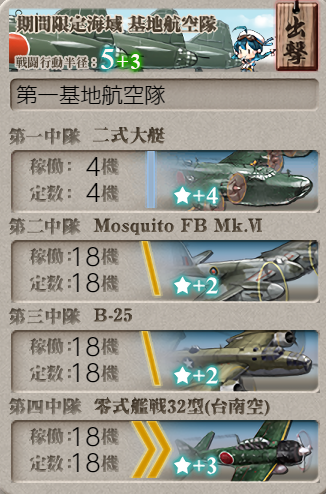
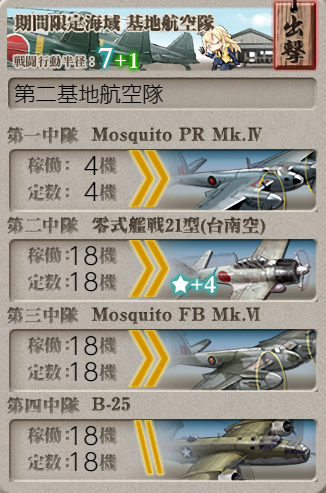
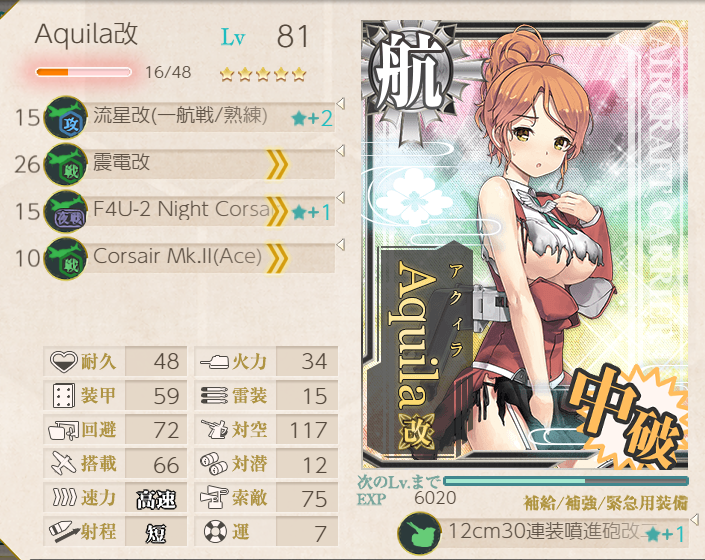
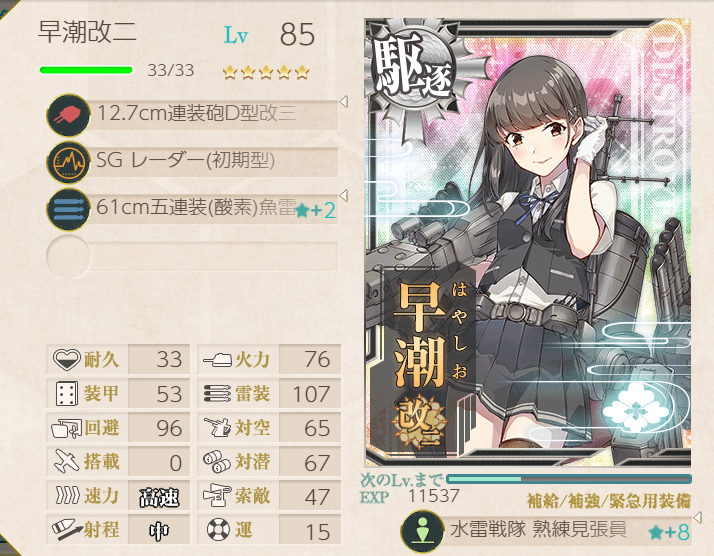
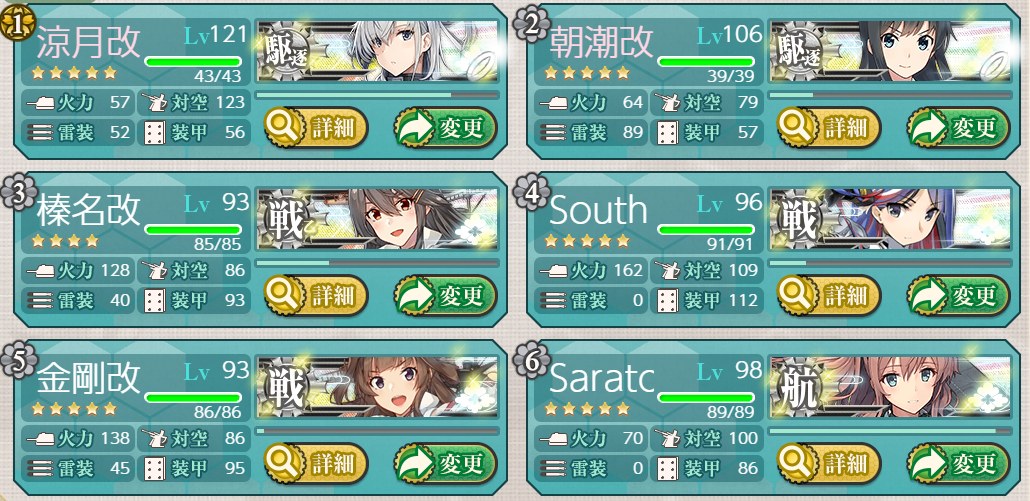
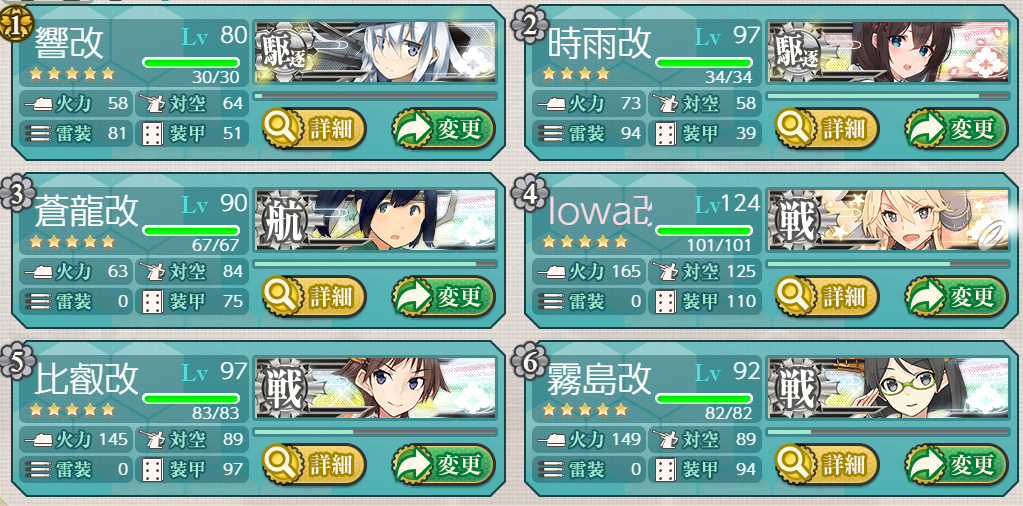
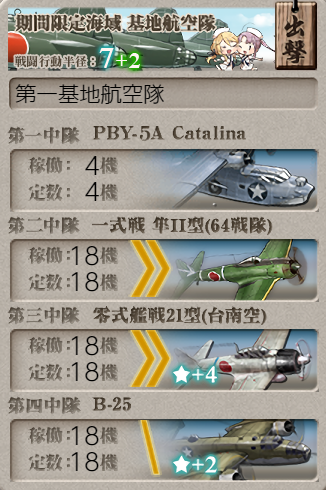
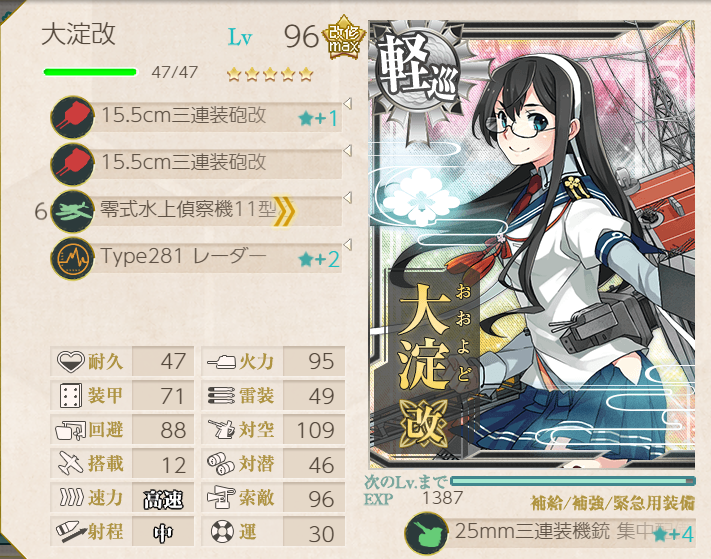
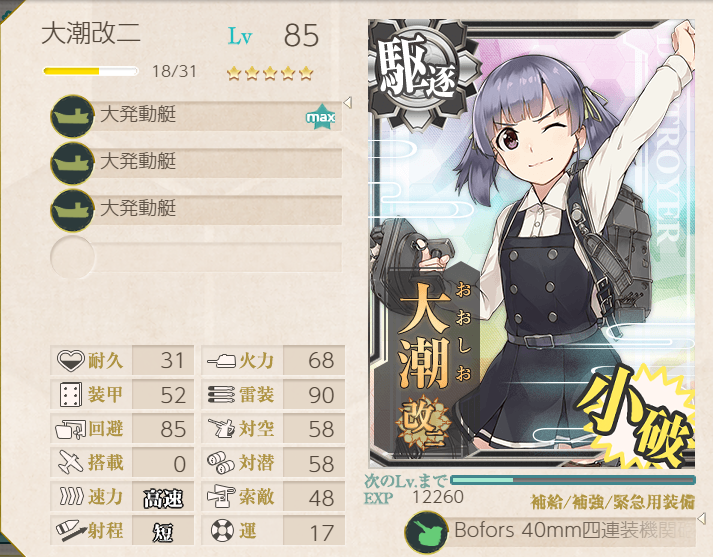
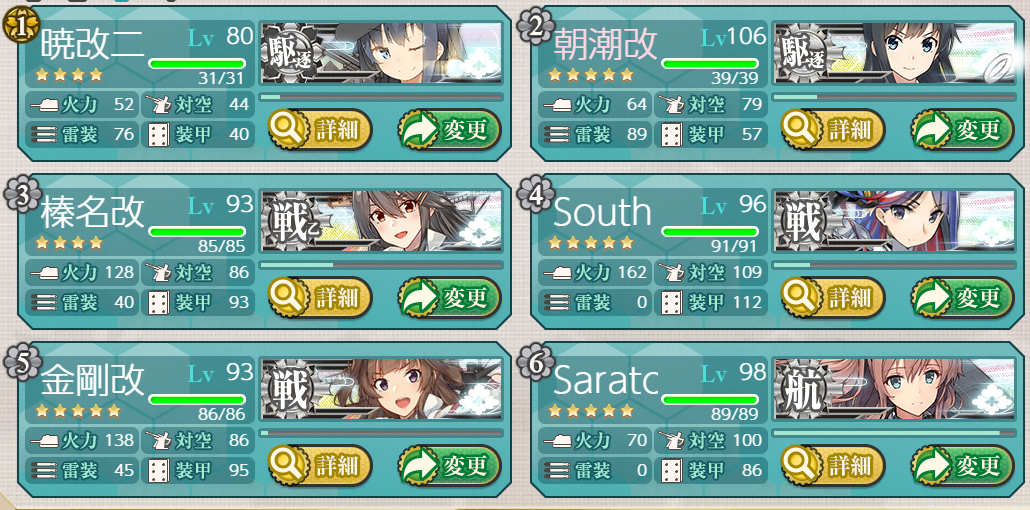
This operation is essentially an extension of the previous map, just transport focused. The same fleet as before was reused, with some equipment renewals.
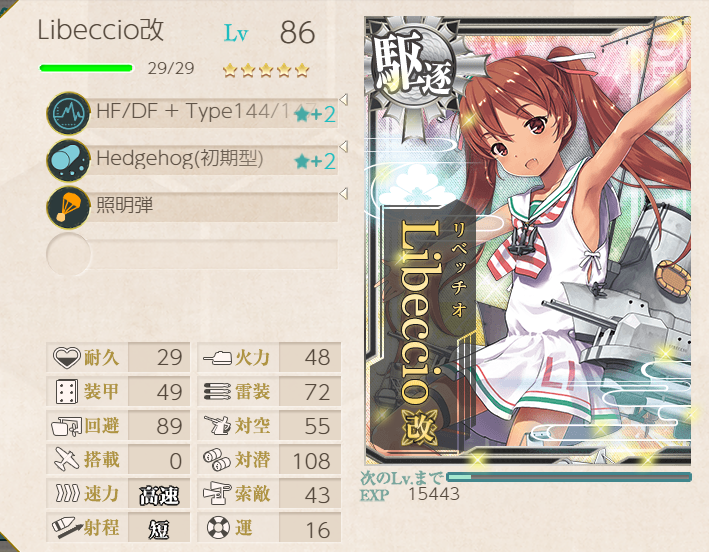
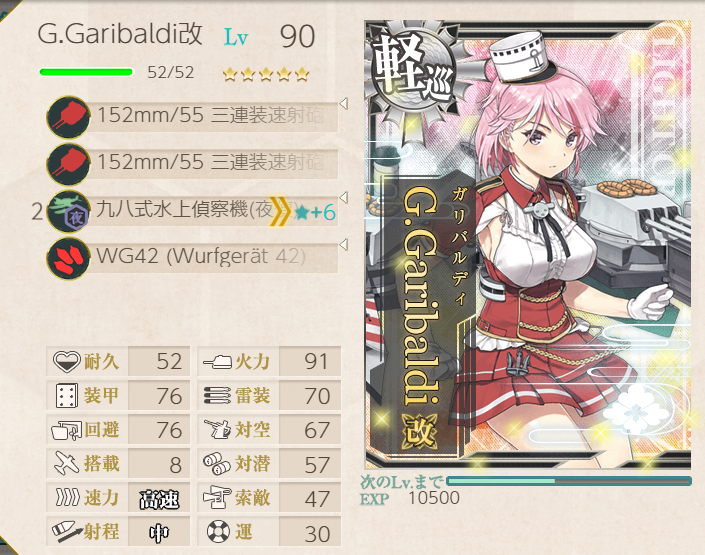
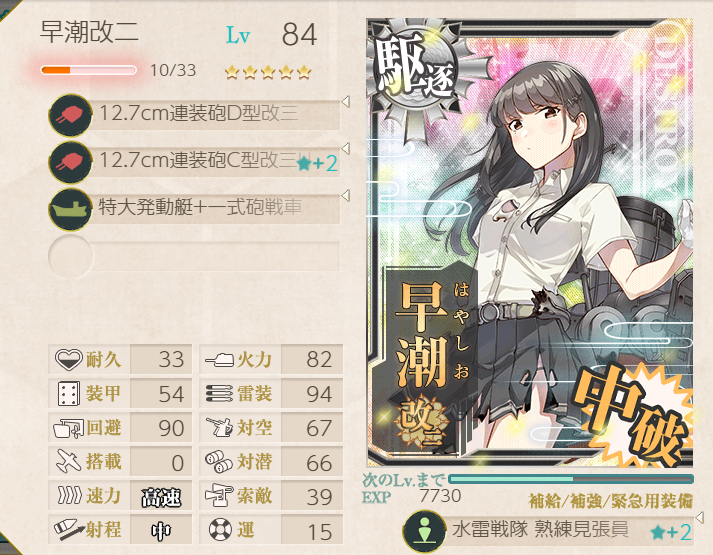
 |  |
 |  |
 |  |
Boss support is very optional if going for A-ranks; I used it to make sure there were no failed TP runs.
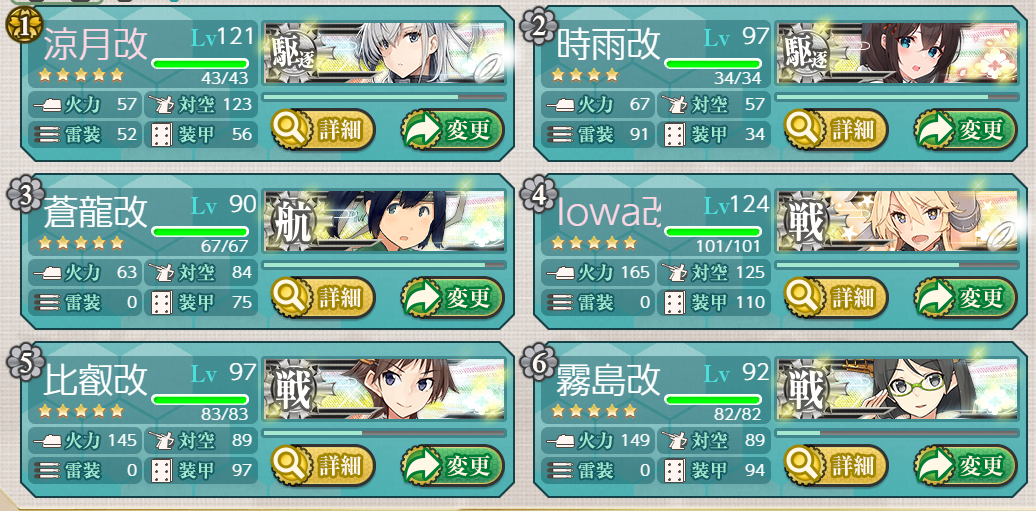
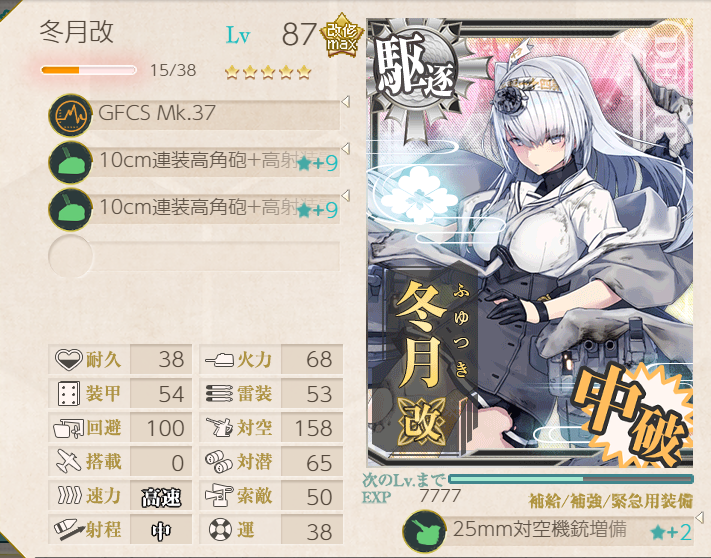
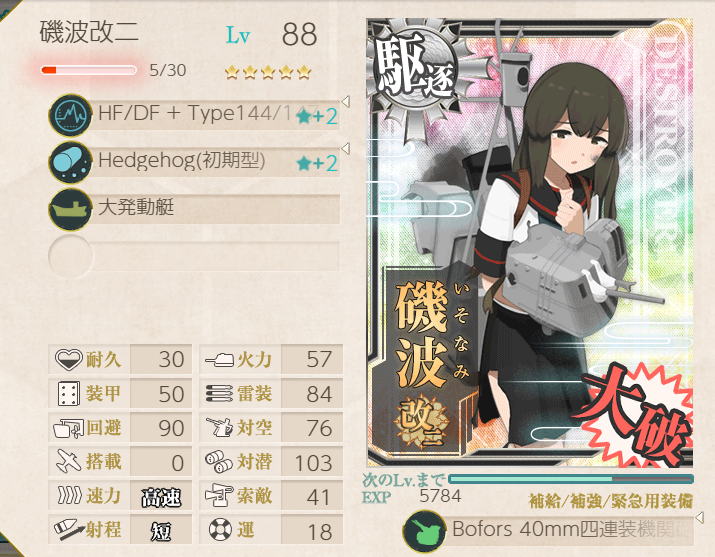
I had several retreats, caused by various nodes. Not much one can do about it. I found Isonami with OASW was essential to reduce failures at the sub node (A2), and having Fuyutsuki to do AACI was great for the air raid (A). Vanguard formation at node B seemed to work very well.
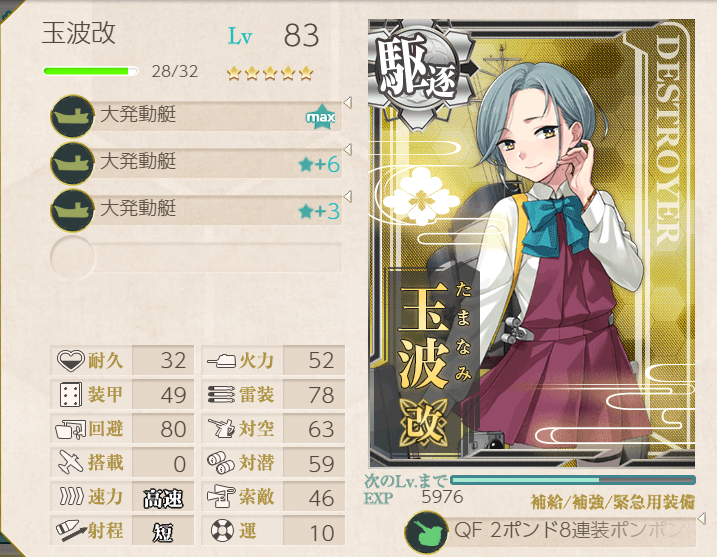
The given composition gives 54 TP per A-rank, which will take 10 runs to deplete the gauge. It's not very feasible to go for S-ranks (I had none), as the boss is tough. You'd have to replace one of the destroyer's equipments with a cut-in setup, which may or may not be worth the loss in TP per run. Overall, it's a pretty easy route, so I opted to just take my time and do it the easy way.