This operation was mostly done on Normal (乙) difficulty, but completed on Easy (丙). Please excuse the terrible CSS.
Phase 1: New Southern Battleship Princess
Straight-forward combat phase. Toukai to boss was questionable.
It always got shot down and didn't do much.
Otherwise, Last Dance was just waiting for everything to line up. Took 3 tries.
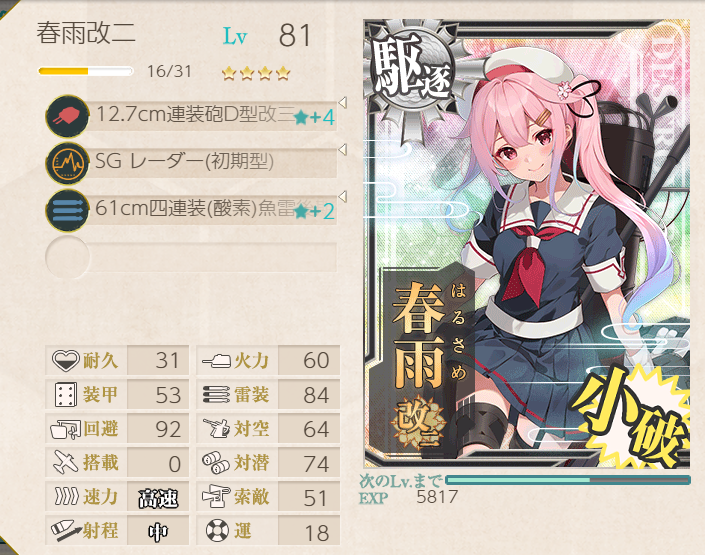
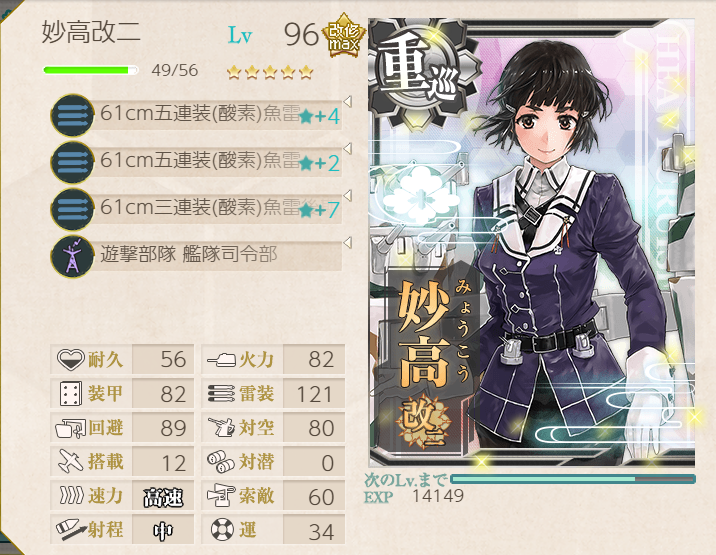
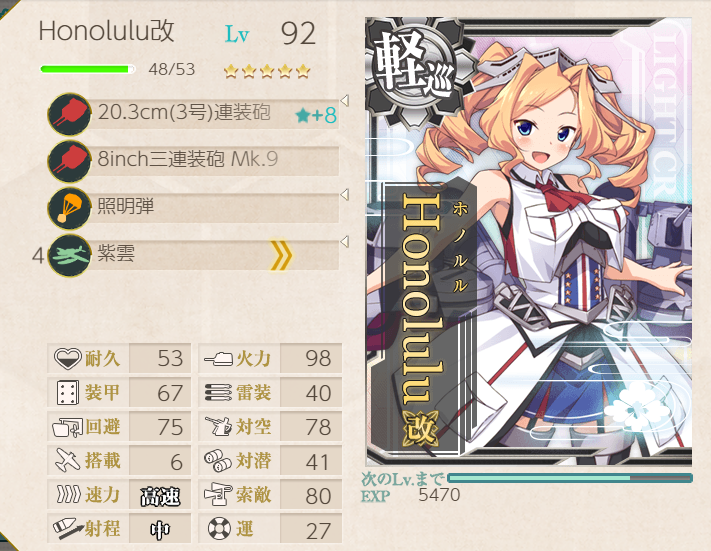
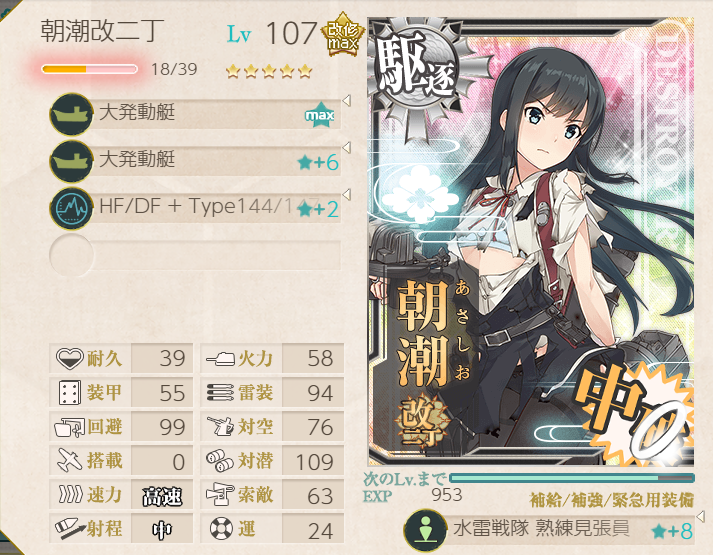
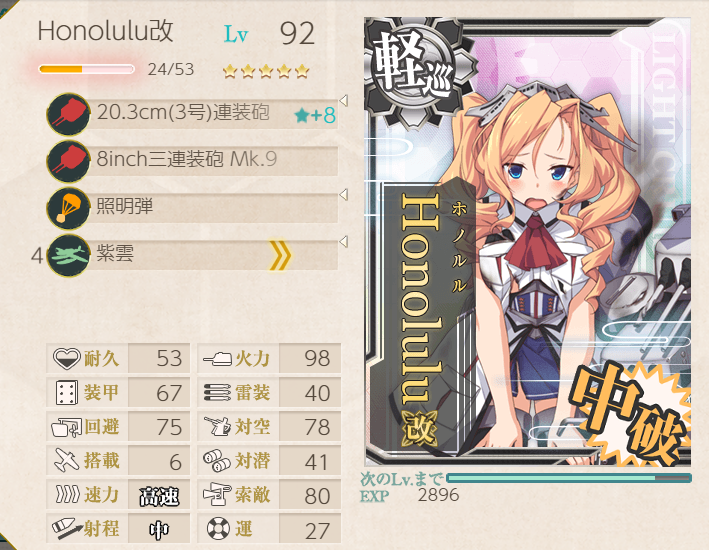
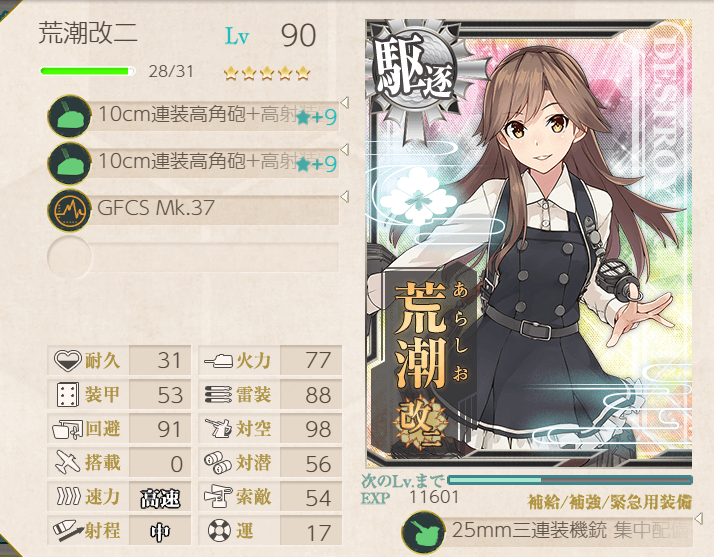
OASW on Asashio was pretty important for the random submarines all over the place.
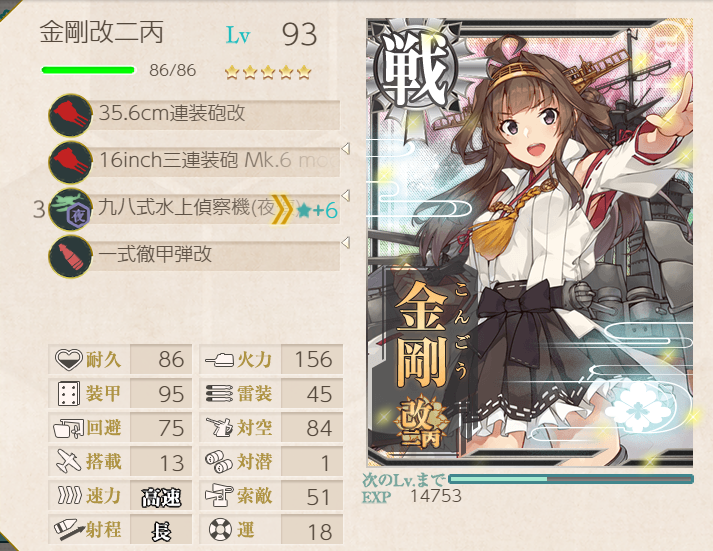
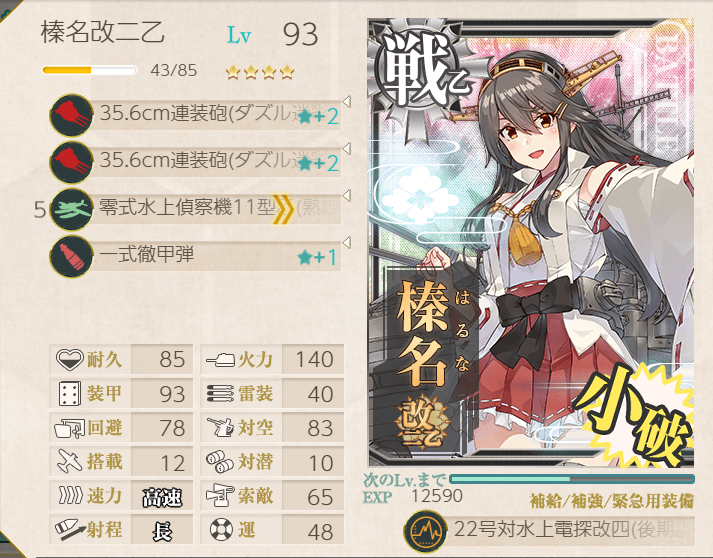
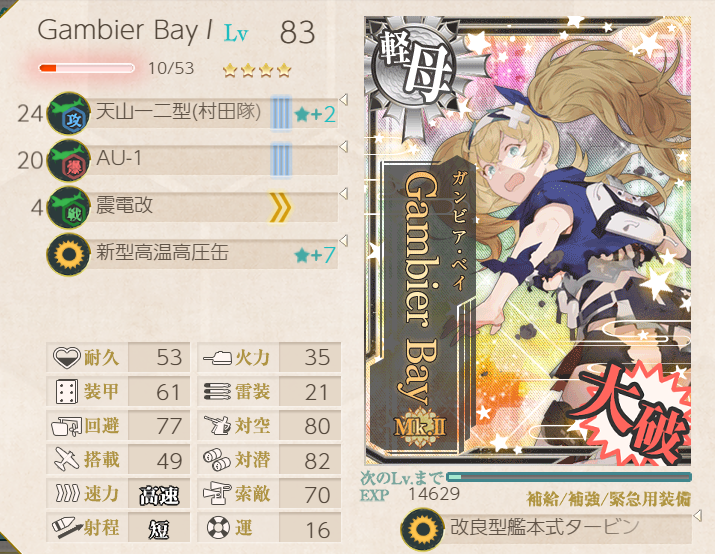
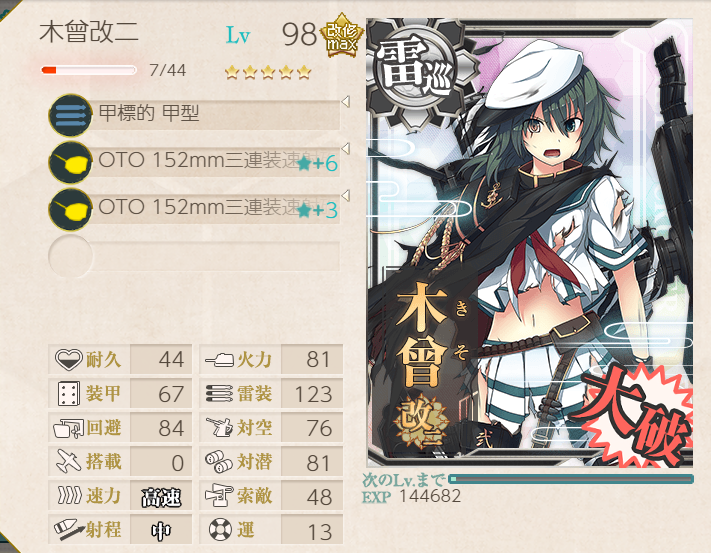
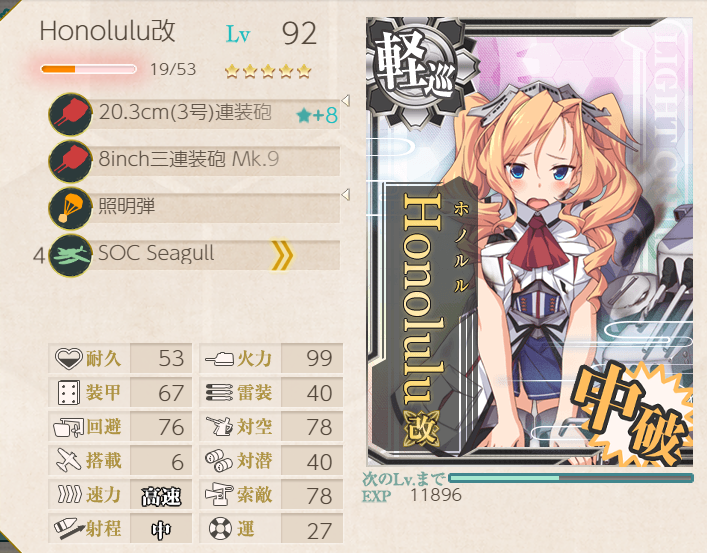
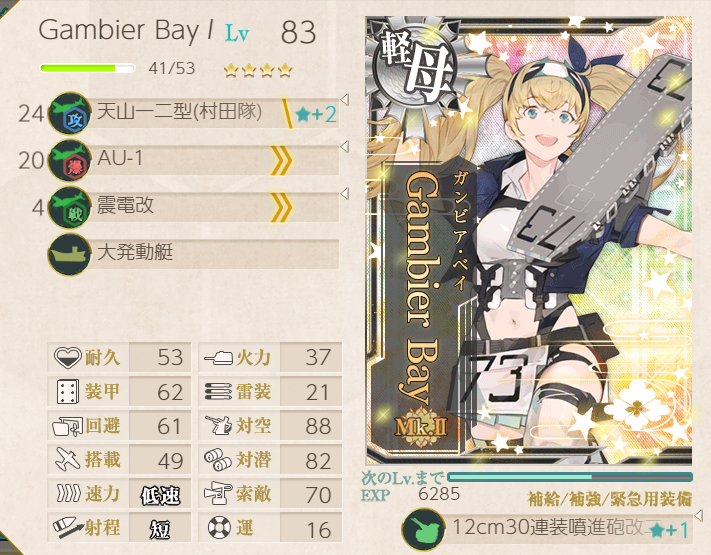
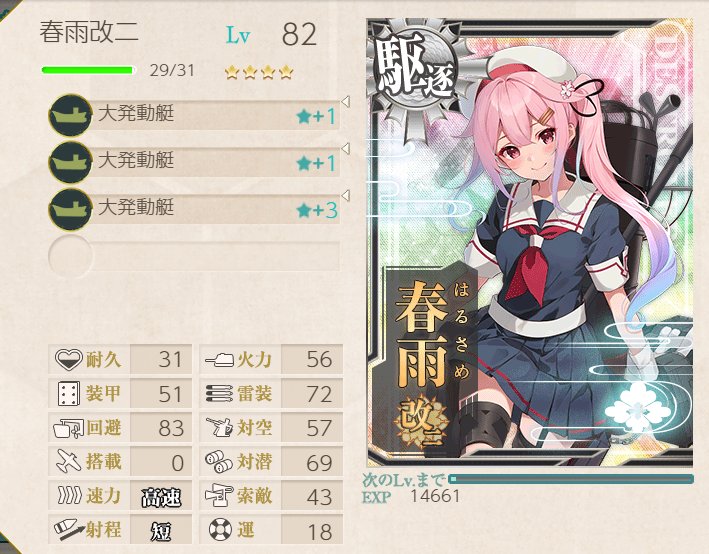
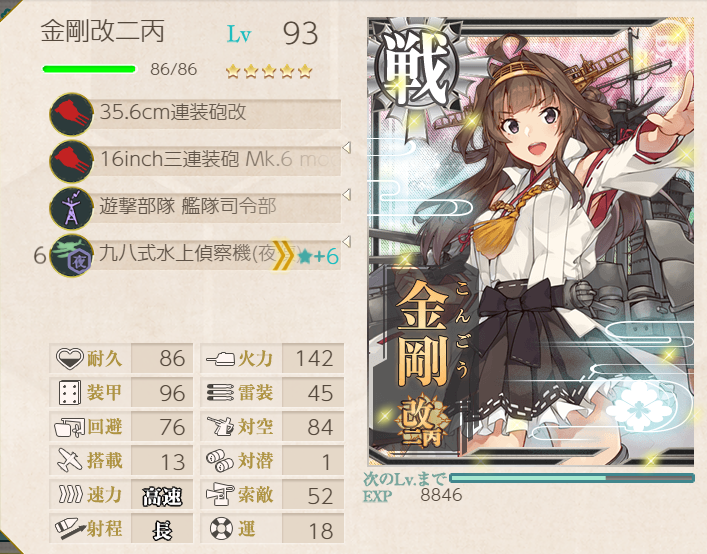
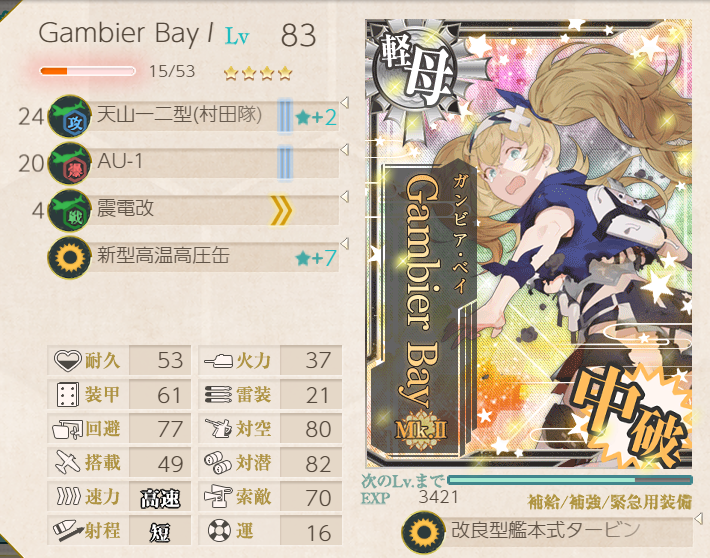
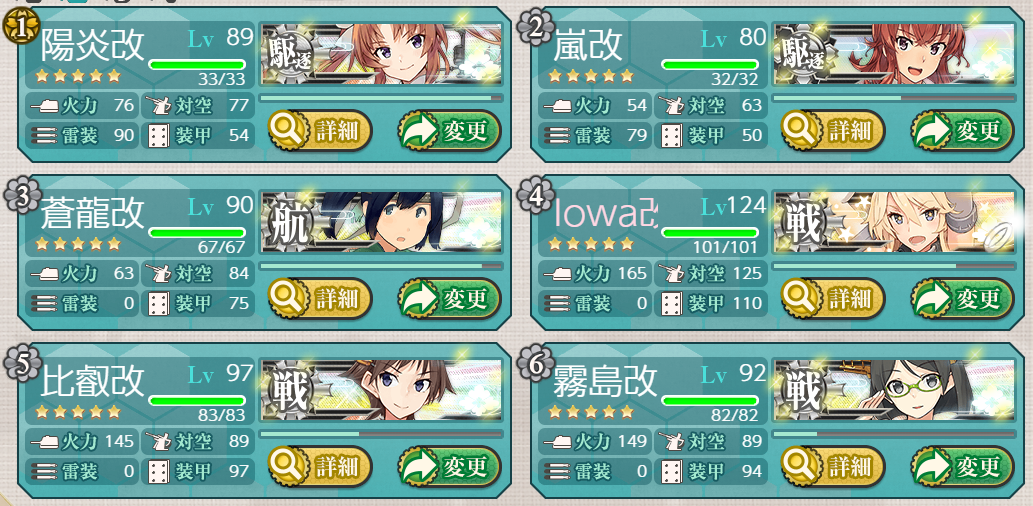
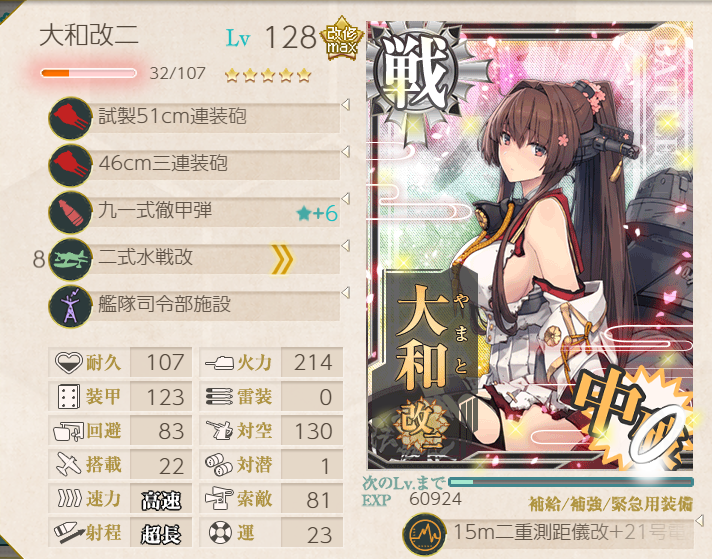
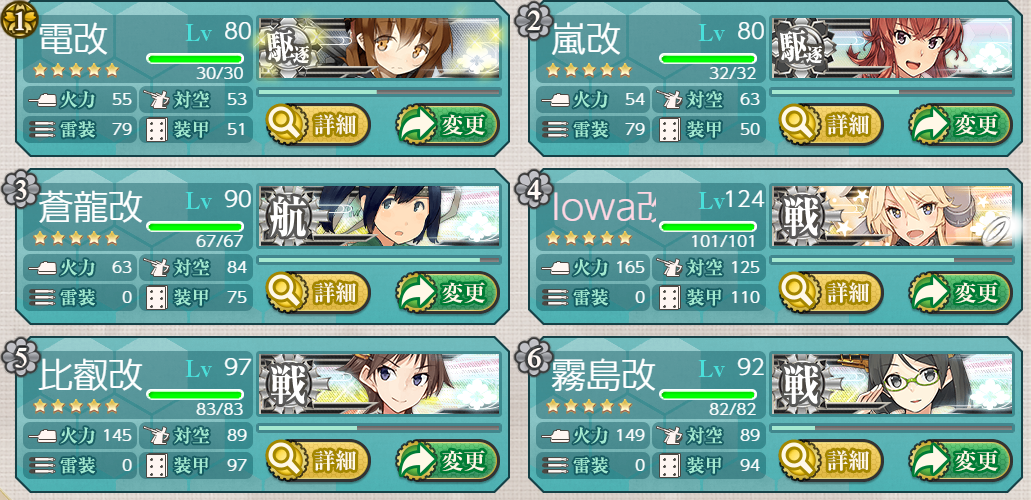
I used Gambier Bay for this operation to use for the next transport phase, since
she can carry daihatsu landing crafts. Since she needed to be fast for this phase,
she got the turbine and boiler. Not much lost, since she has a reinforcement
expansion and the 1-plane slot!
No node support was used; boss support was helpful.
Boss support
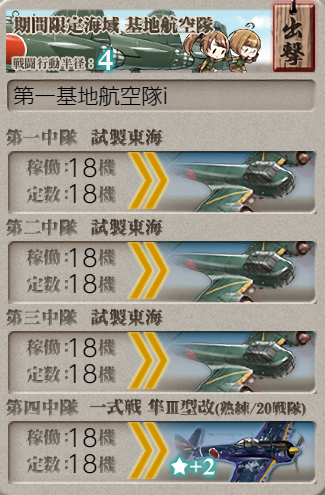
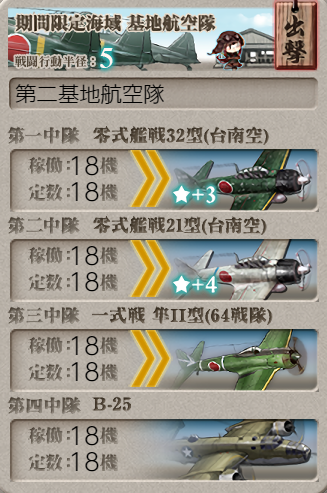
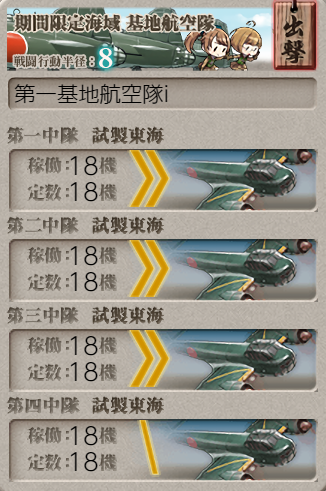
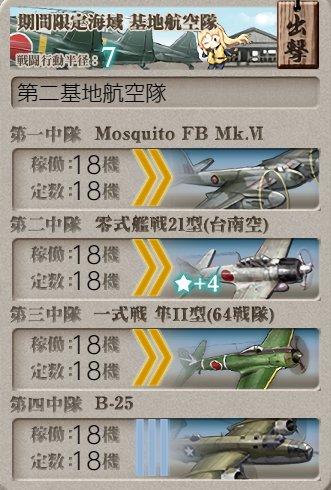
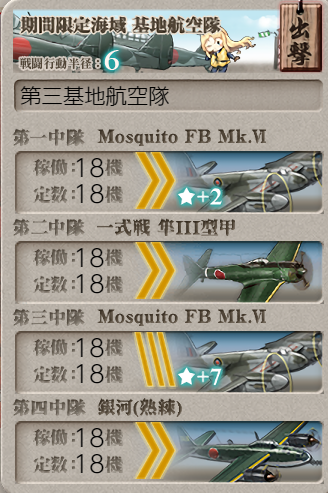
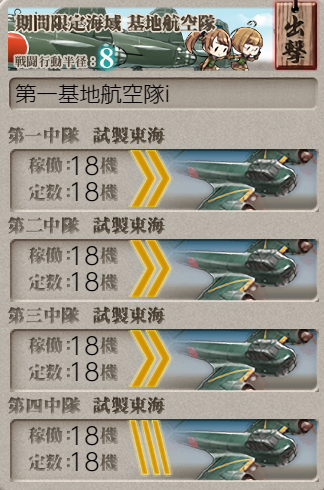
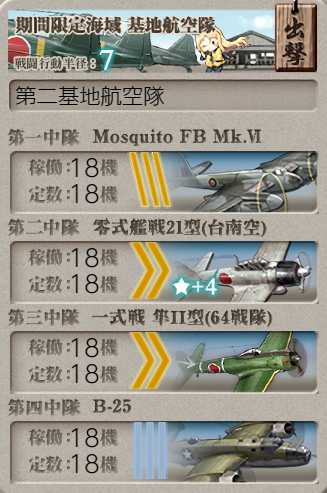
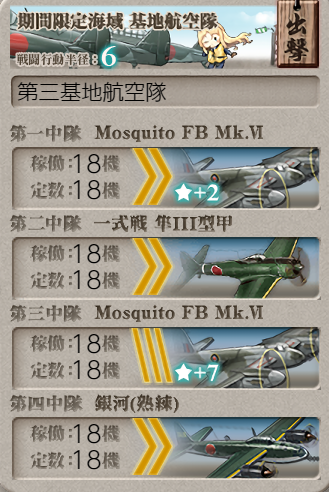
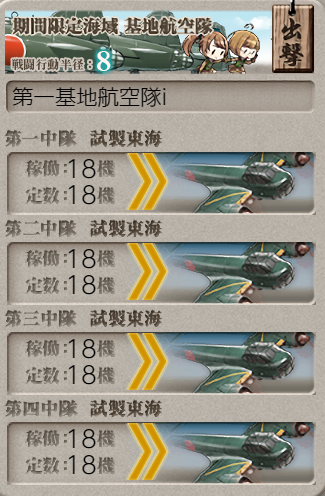
LBAS 1 to A (submarines), LBAS 2 and 3 to L (boss).
Phase 2: Transport Operation
Straight-forward transport phase. I was able to get a couple of S-ranks (118 TP) (with
Myoukou's torpedo cut-in), but otherwise reliable A-ranks (82 TP). I did take the
striking force fleet command facility, but I never used it. No node or boss support
was needed.
LBAS 1 to A (submarines), LBAS 2 and 3 to S (boss).
Phase 2.5: Opening Phase 3 Boss
Node H (A-rank twice) used a modified version of the fleet used for phases 1 and 2. The Phase 3 fleet was used for node V.
Node support
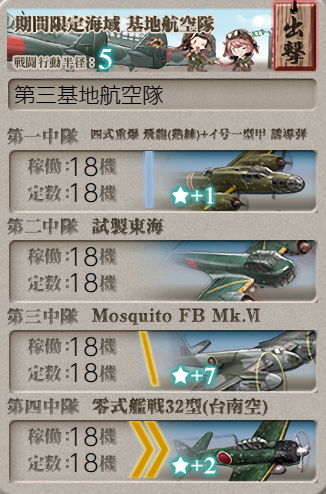
LBAS 1 to A (submarines), LBAS 2 to F1, and 3 to H.
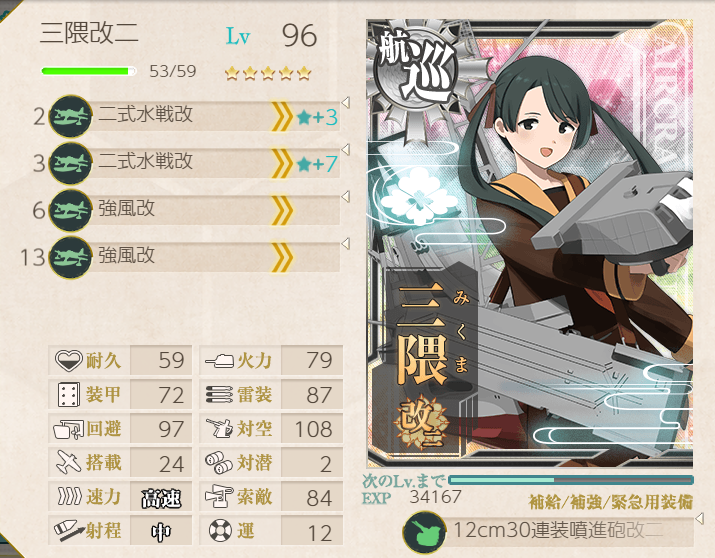
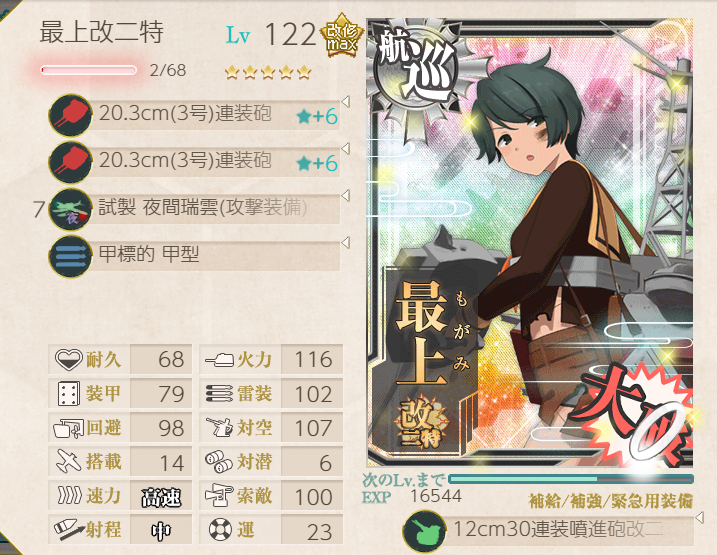
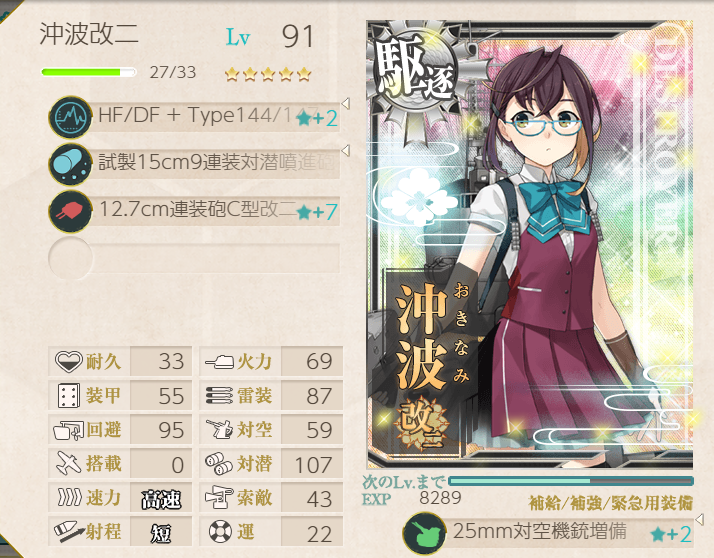
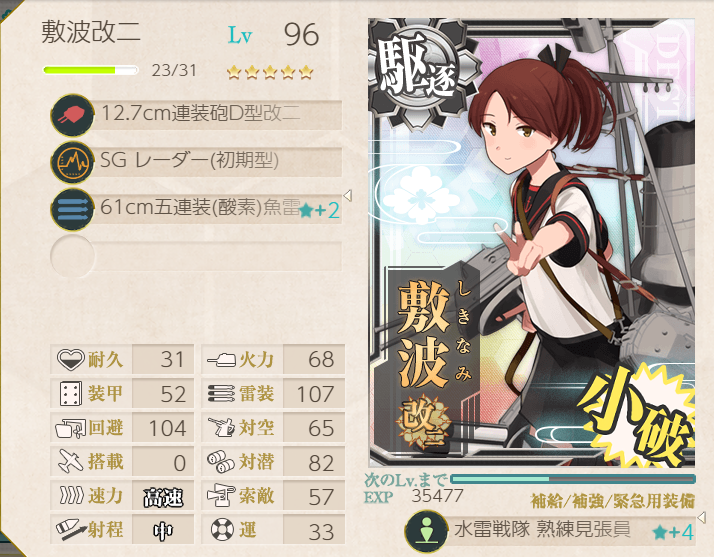
Phase 3: Biak Island Engagement
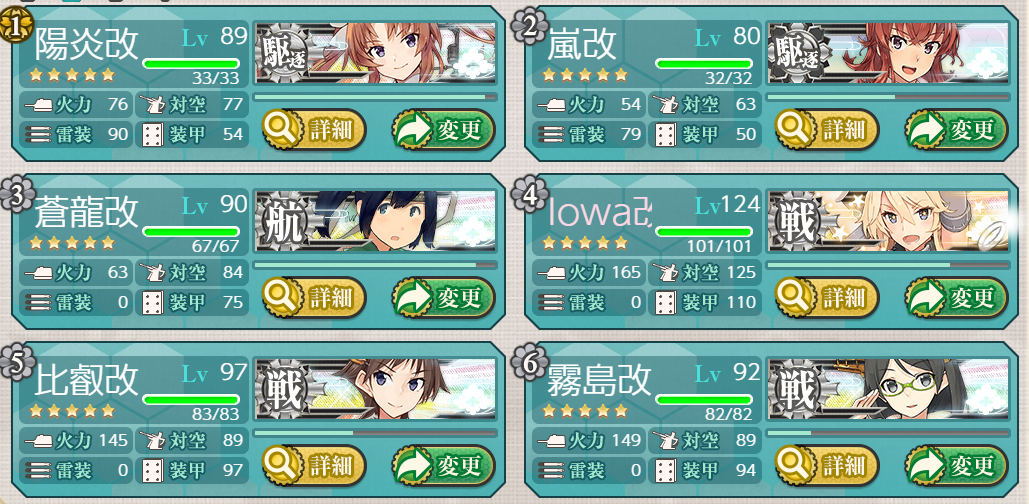
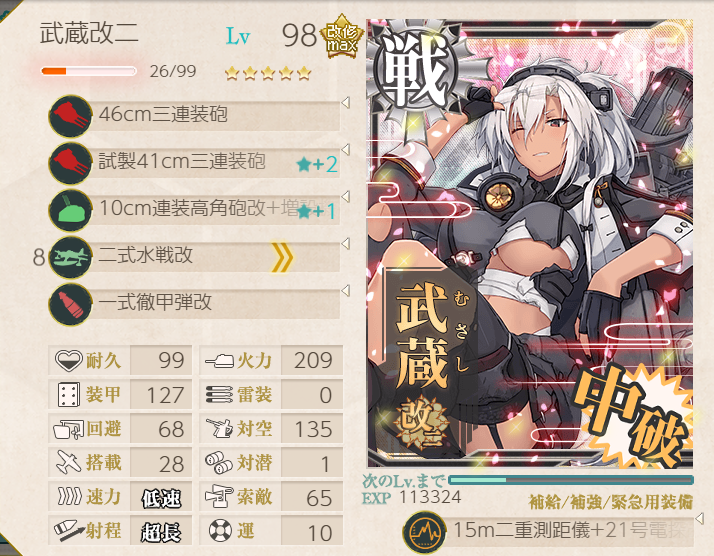
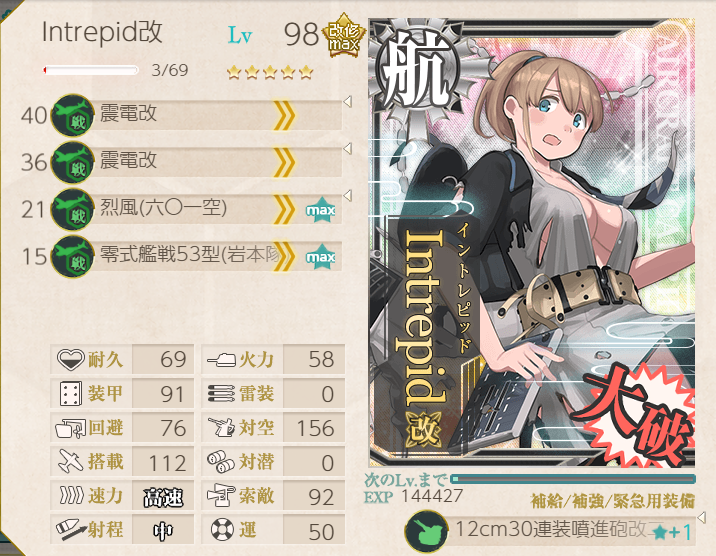
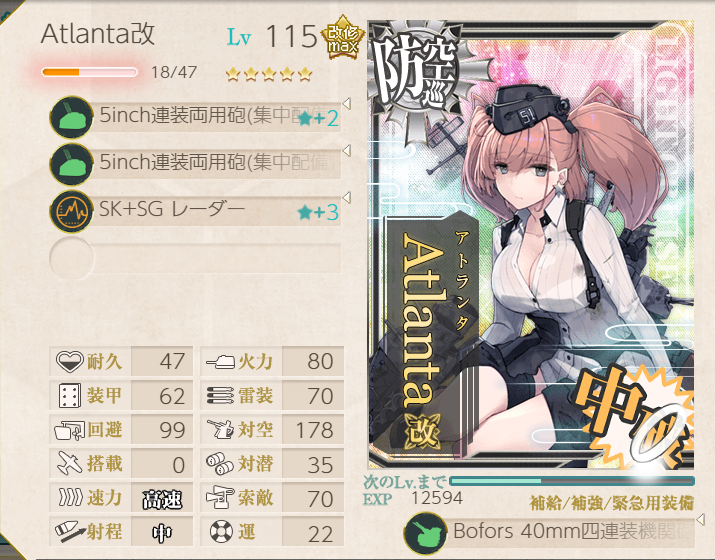
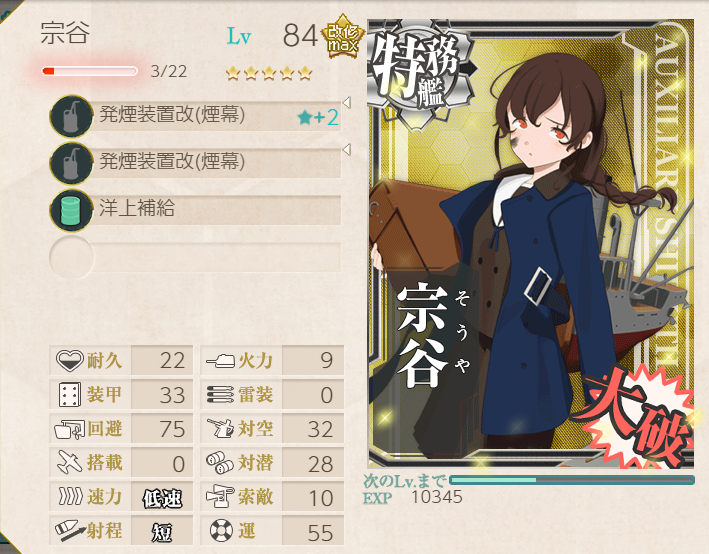
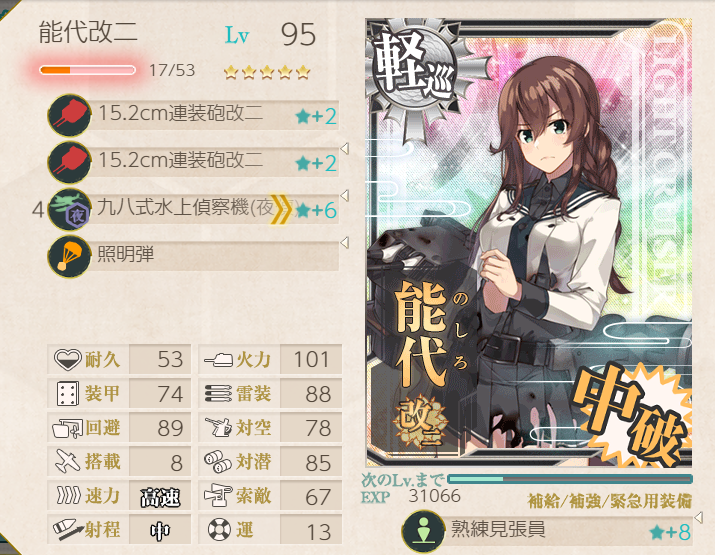
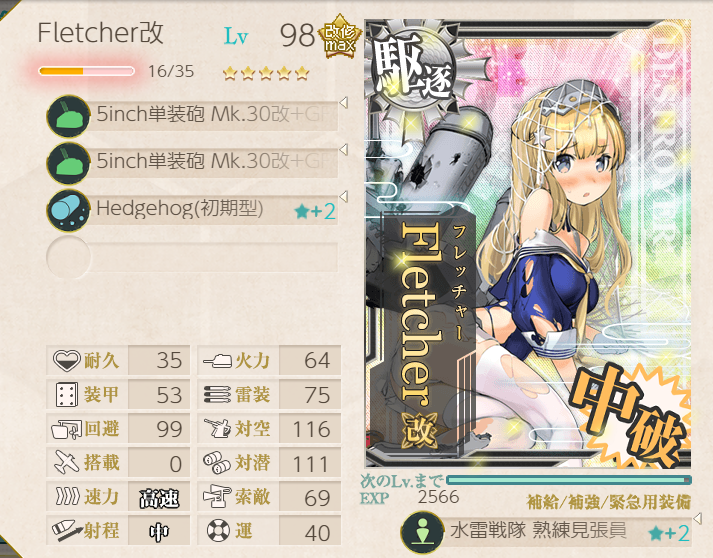
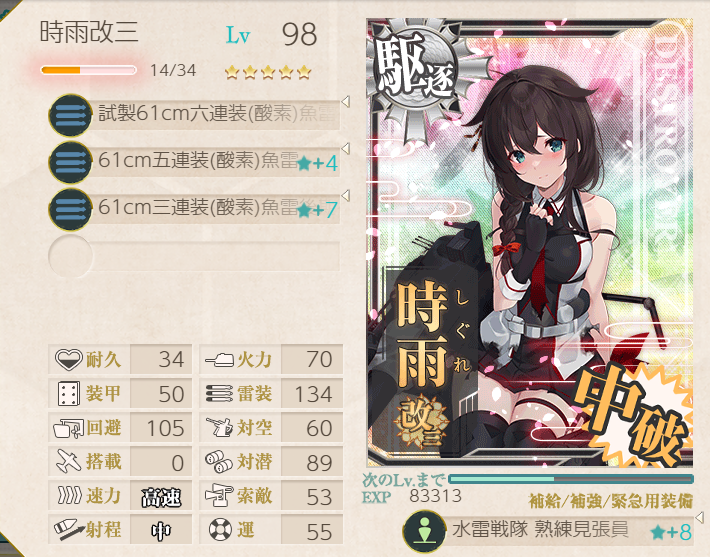
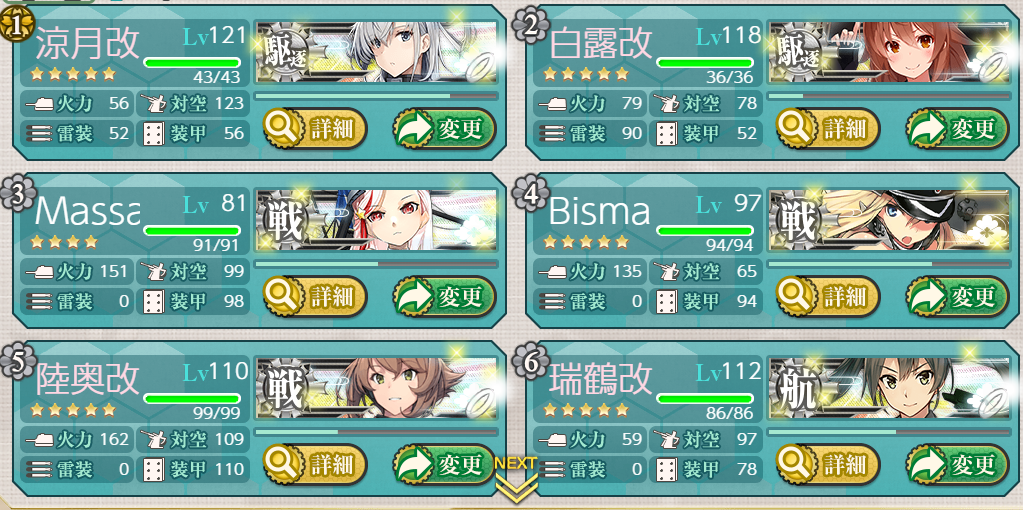
This fight was...not pleasant. Chipping was done on normal, but we couldn't secure the kill. Much more manageable on easy. The fleet shown below is the chipping fleet; for last dance, it had a little more combat equipment.
Node support
Boss support
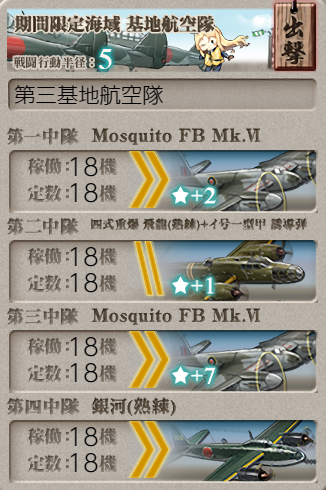
LBAS 1 to T2 (submarines), LBAS 2 to V, and LBAS 3 to W.