This operation was mostly done on Easy (丙) difficulty, except for the final phase, completed on casual (丁) due to trouble with node Z. Please excuse the terrible CSS.
Phase 1: Rabaul Transport Operation
Straight-forward transport operation.
No node support was used; boss support was helpful.
Boss support
Phase 2: Combat Operation
Nothing particularly notable for this operation at this difficulty. No boss or node support was used.
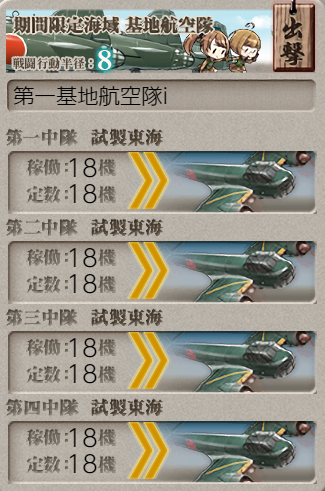
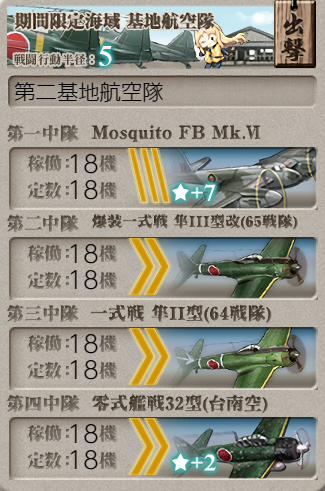
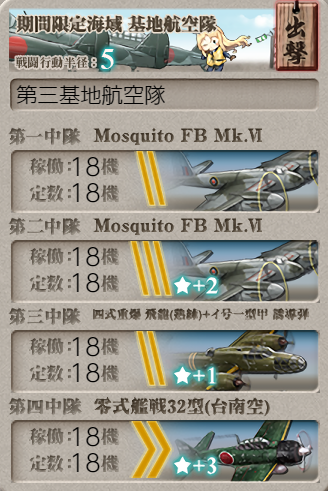
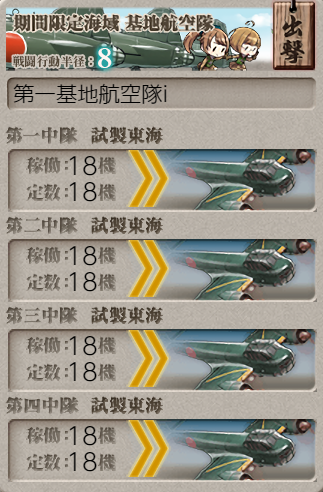
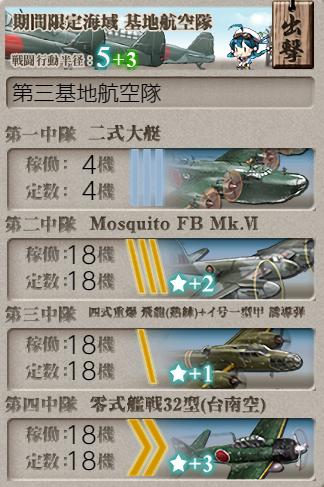
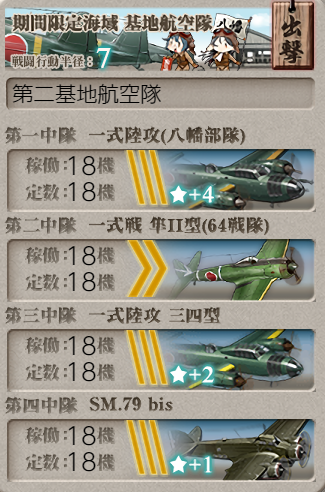
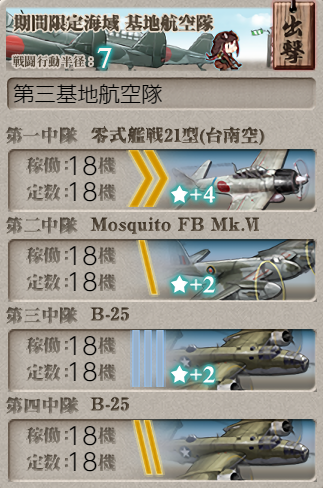
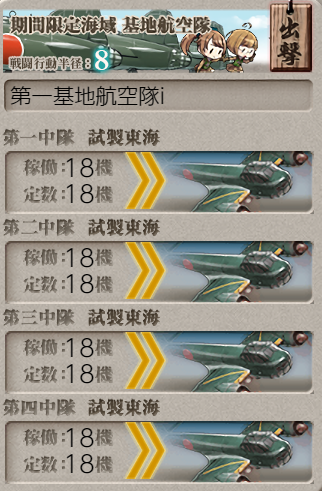
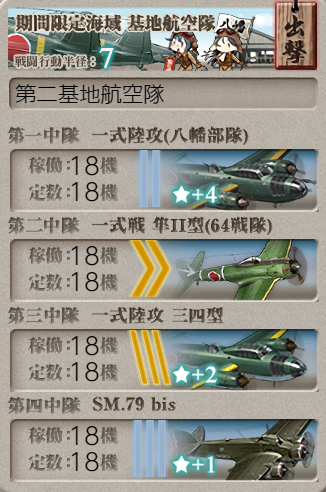
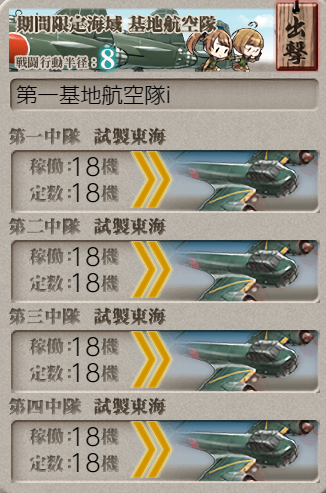
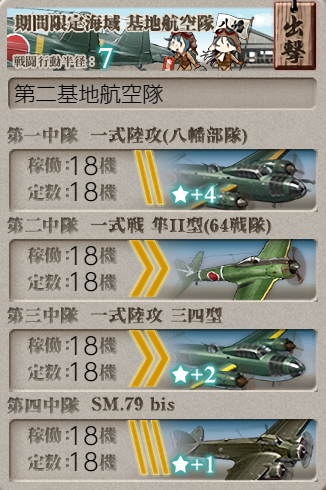
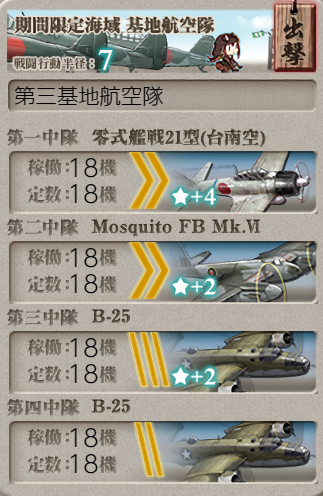
LBAS 1 to E (submarines), LBAS 2 and 3 to L (boss).
Phase 3: Combat Operation
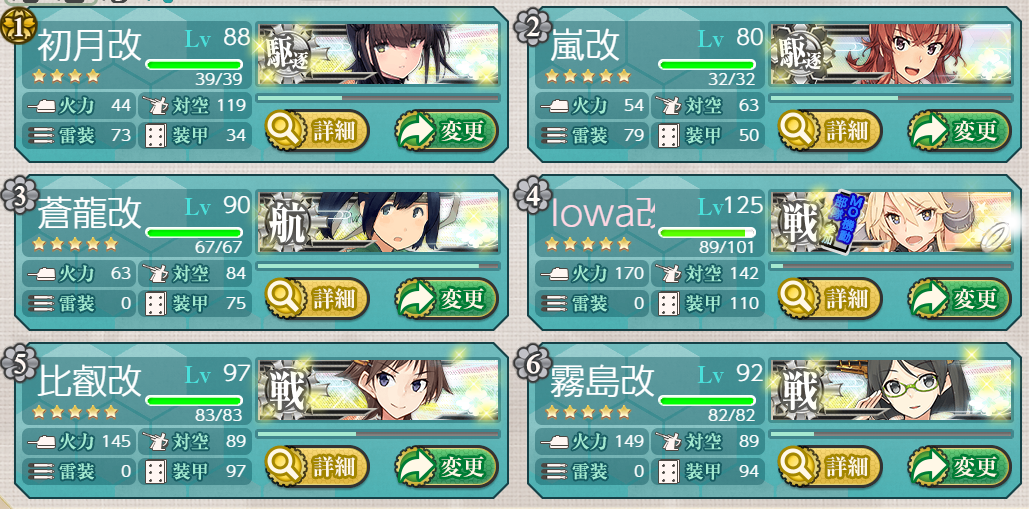
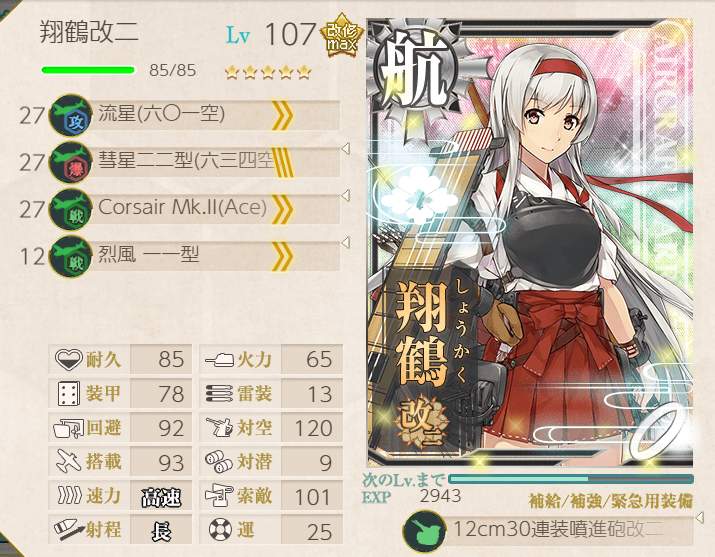
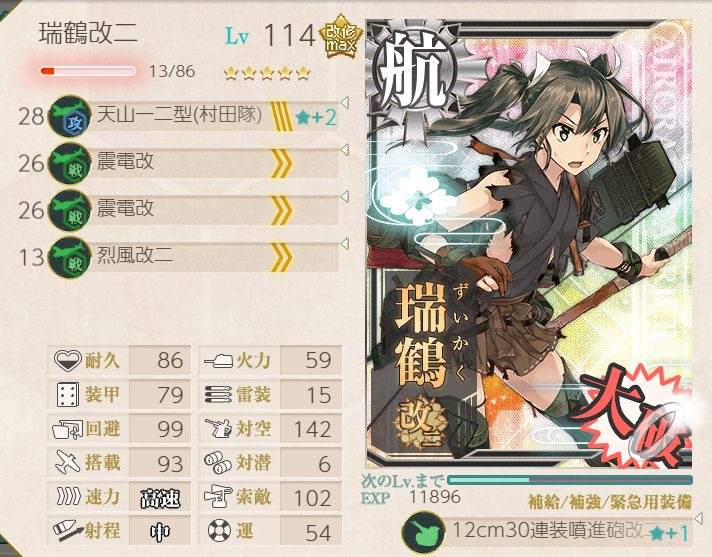
Another straight-forward operation. The last dance run was very questionable with the fleet as pictured below; if I hadn't cleared it on that first try, I would have increased air power to get AS. No boss or node support was used.
LBAS 1 to M1 (submarines), LBAS 2 to Q, and LBAS 3 to R (boss).
Phase 4: Installation Combat Operation
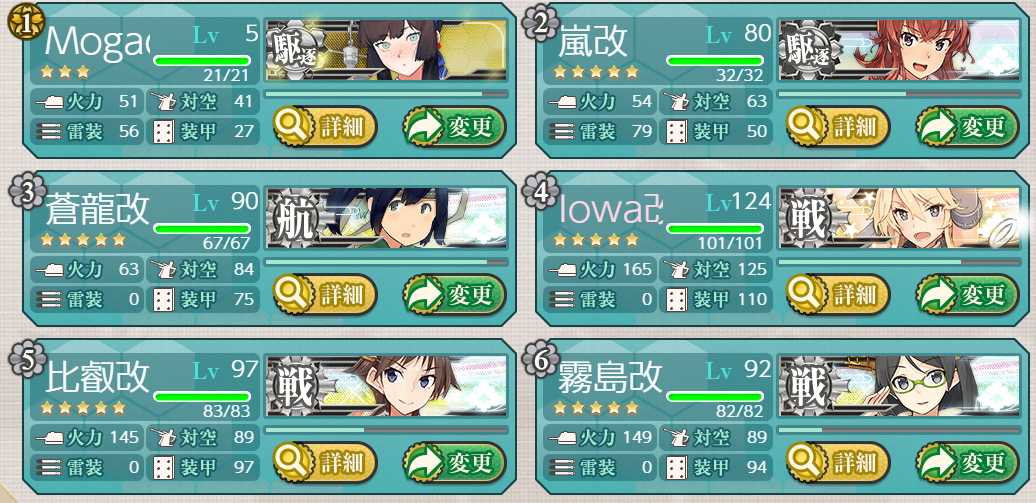
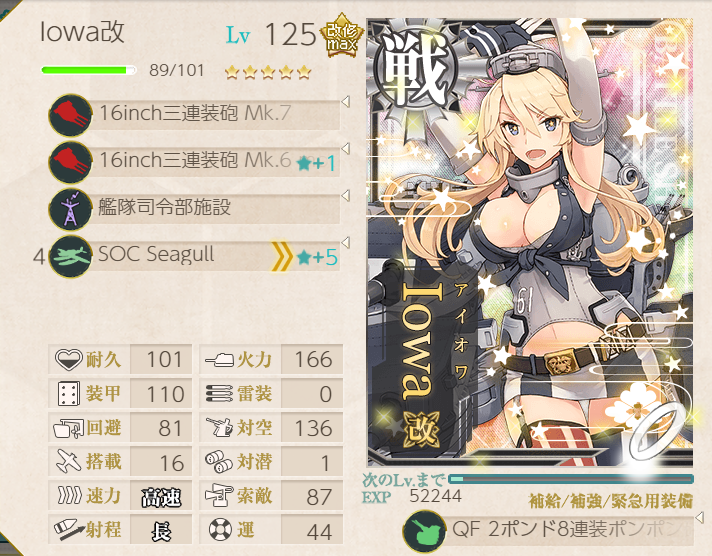
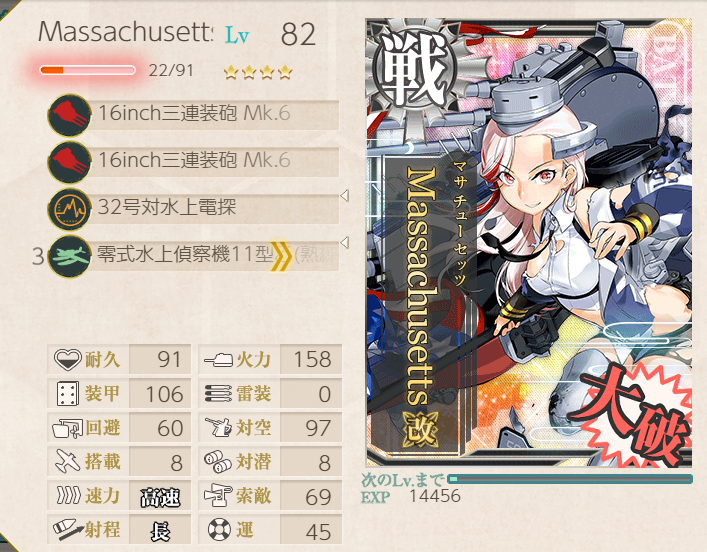
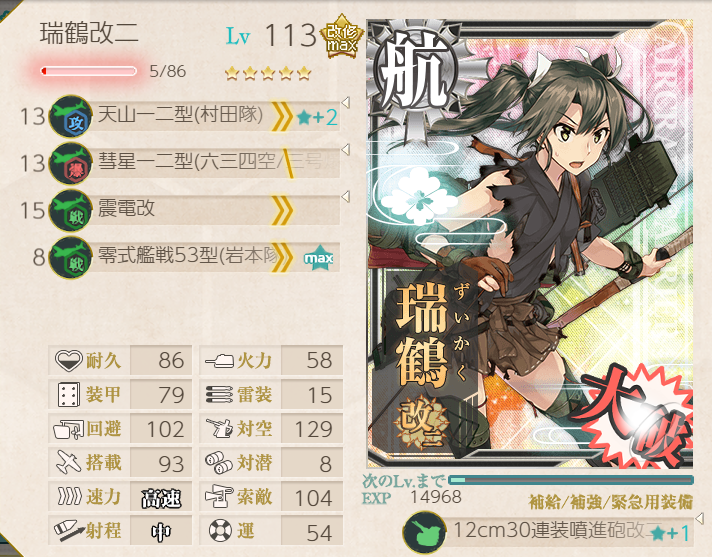
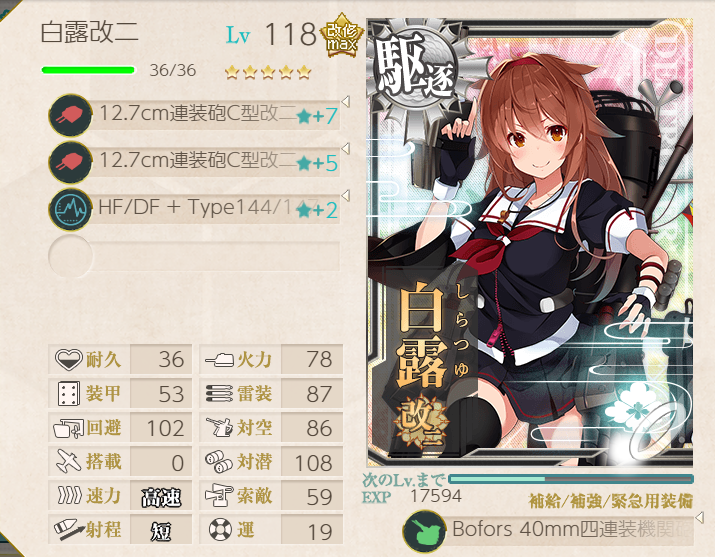
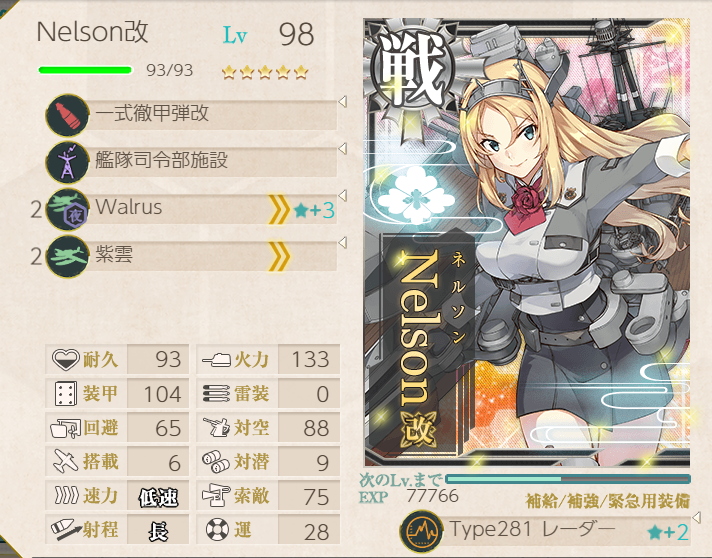
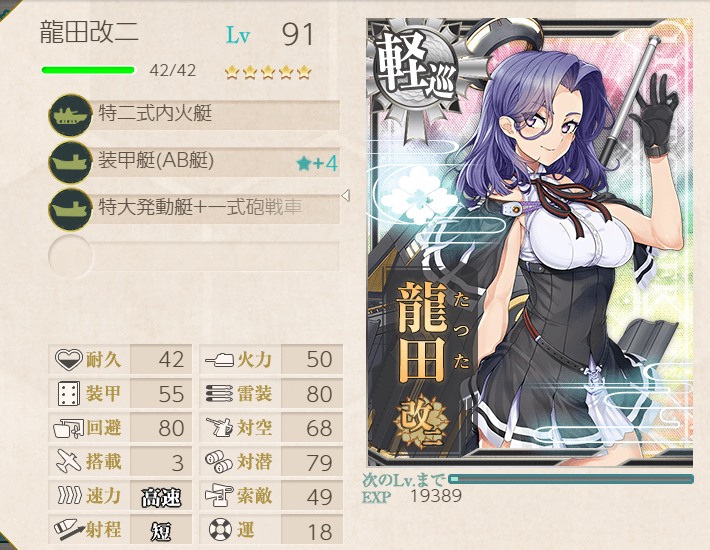
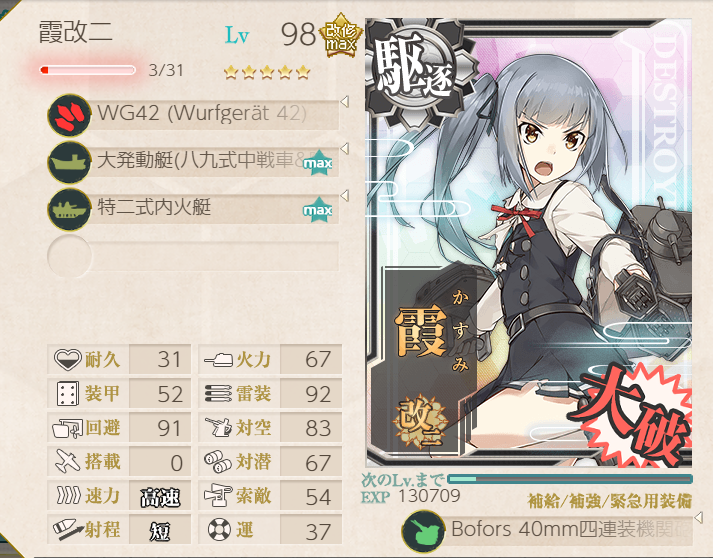
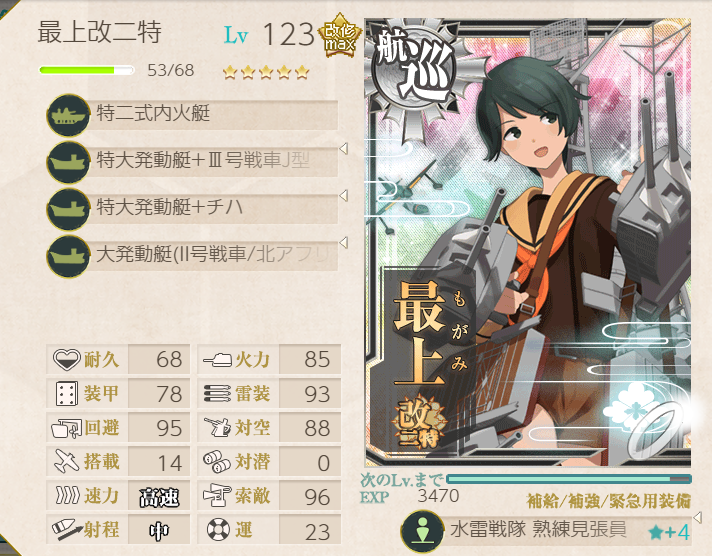
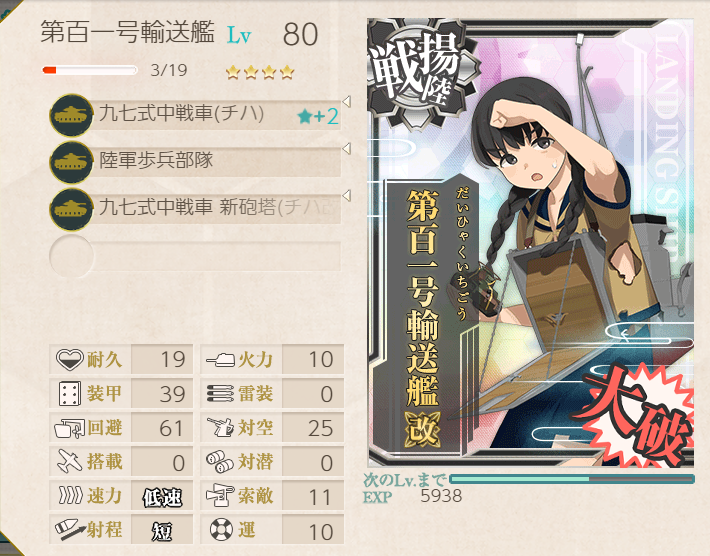
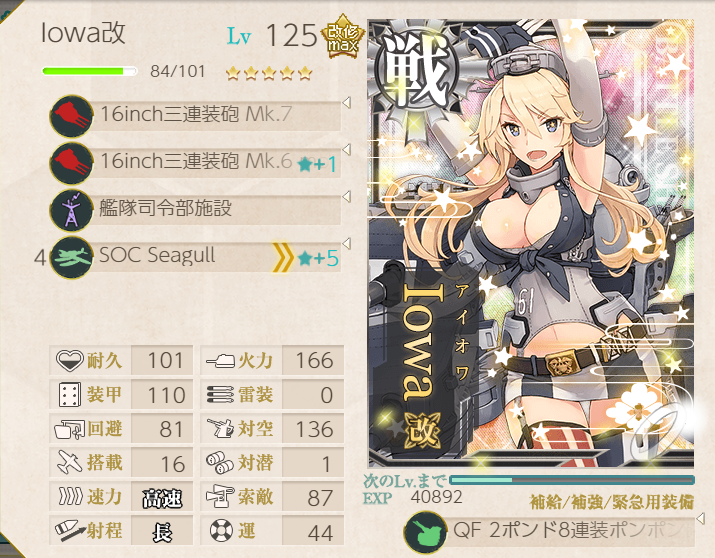
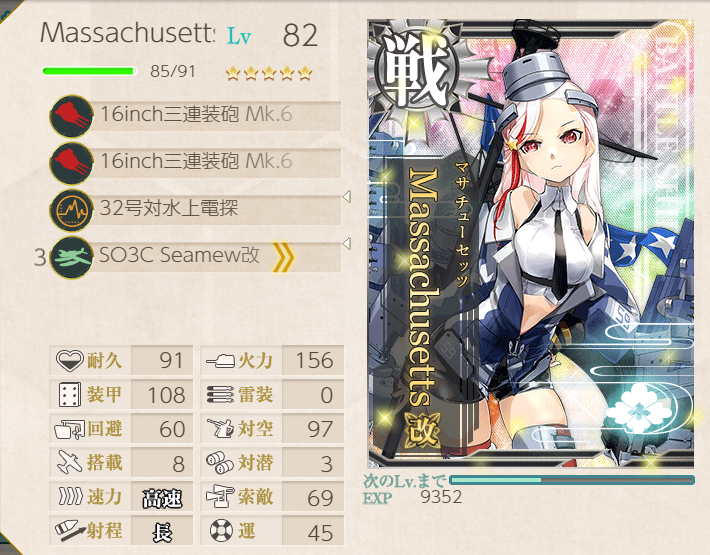
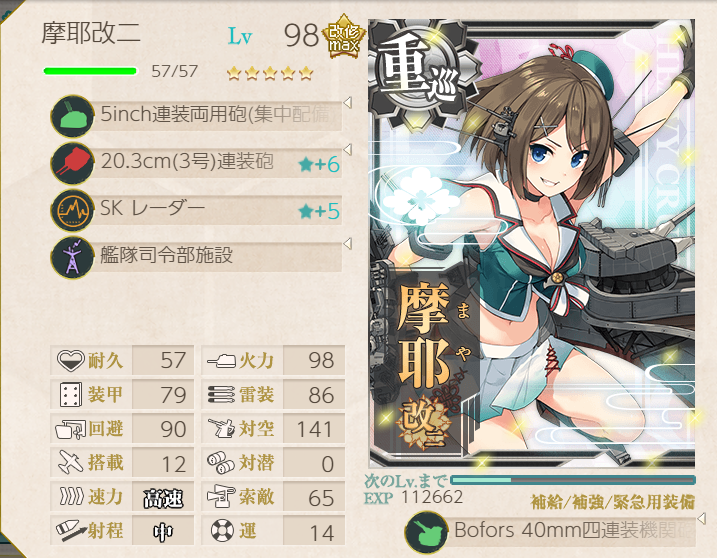
We had some poor runs before adjusting our fleet and equipment to that shown below. In particular, we focused on tanks and landing crafts in the main fleet. 101-chan, coupled with the Nelson Touch was specifically essential, as she did ludicrous damage to the boss and second ship.
Node support
LBAS 1 to E (submarines), LBAS 2 and 3 to V (boss).
Phase 4.5: Unlocking the Final Boss
We used the following fleet for X and Y.
LBAS 1 to M1 (submarines) and the rest scattered to other nodes as needed.
Phase 5: The Final Showdown
Node Z was, by far, the biggest source of trouble, which caused us to drop difficulties. We tried a number of different fleet compositions (including Fast+ and slow), but we settled on a lighter fleet with no battleships, to avoid a second round
of shelling at Z. We had sufficient firepower, coupled with the Friend Fleets at the boss, to clear with no issues. No node or boss support was required.
LBAS 1 to M1 (submarines), LBAS 2 to ZZ (boss), and LBAS 3 to Z.
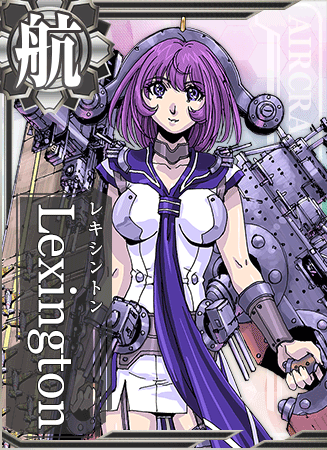
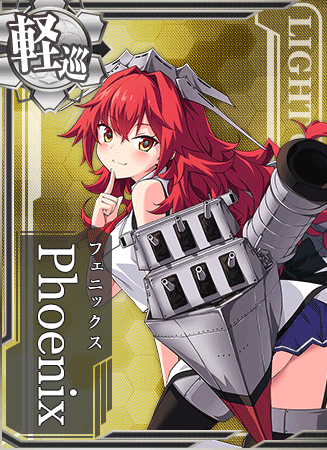
Lexington and Phoenix Rescued!
Welcome to the Shortland Anchorage Naval Distict, Lexington and Phoenix!