Opening Unlocks
Initial nodes were straight-forward. Note the use of Fukae as a slow ship!Base Fleet
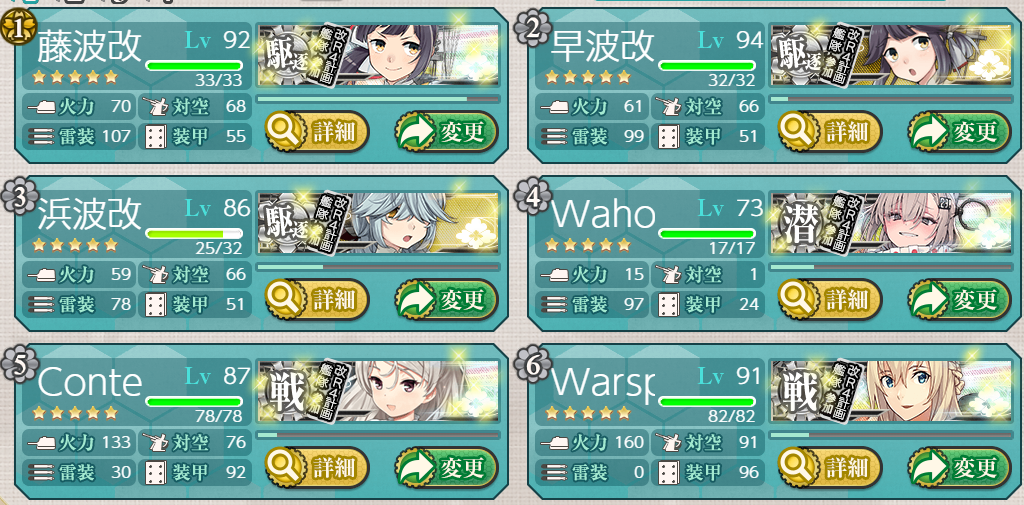
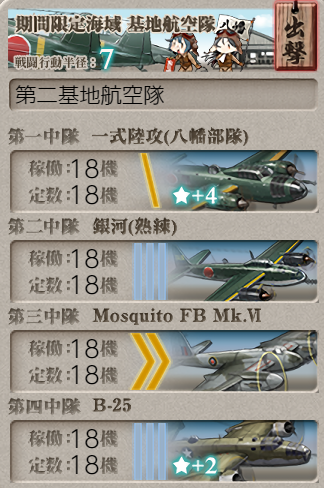
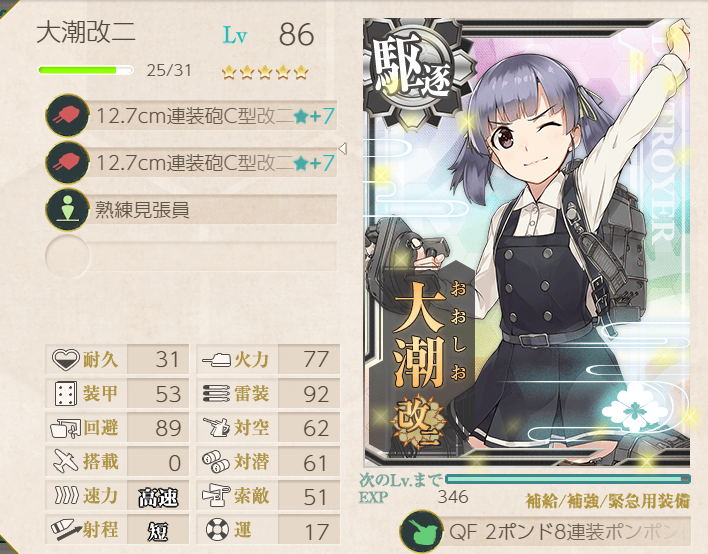
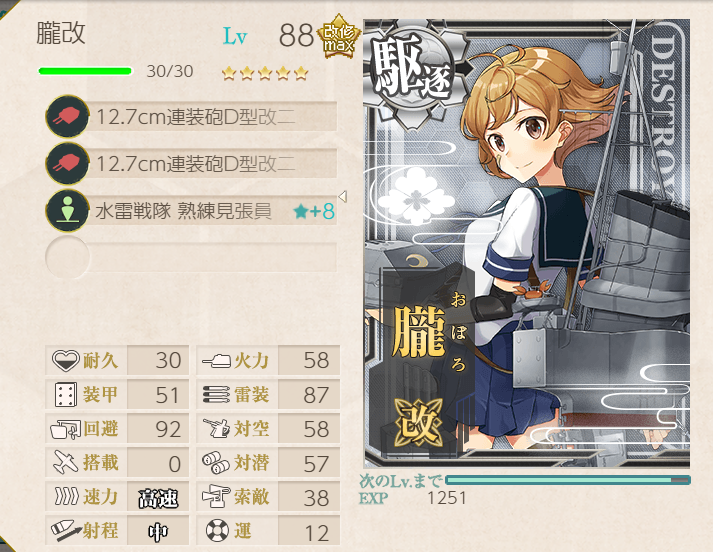
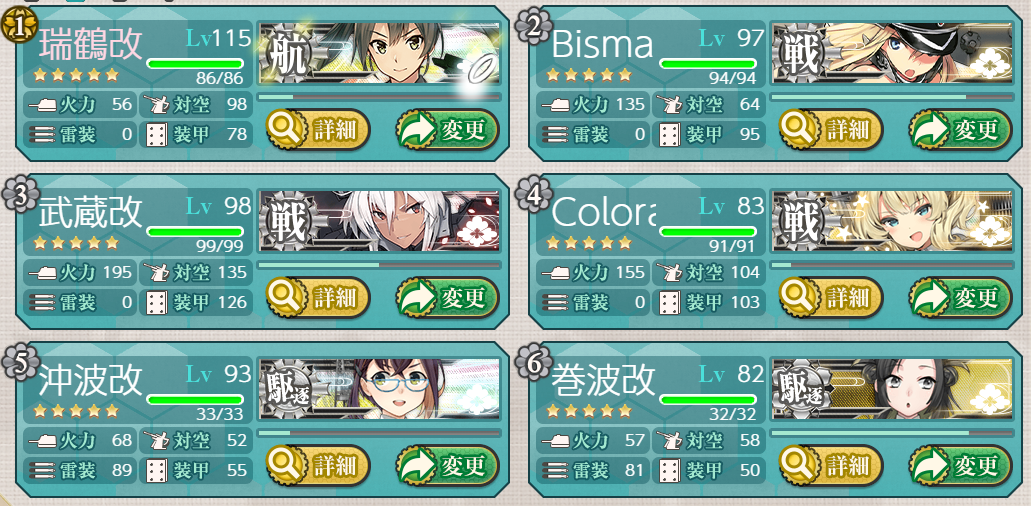
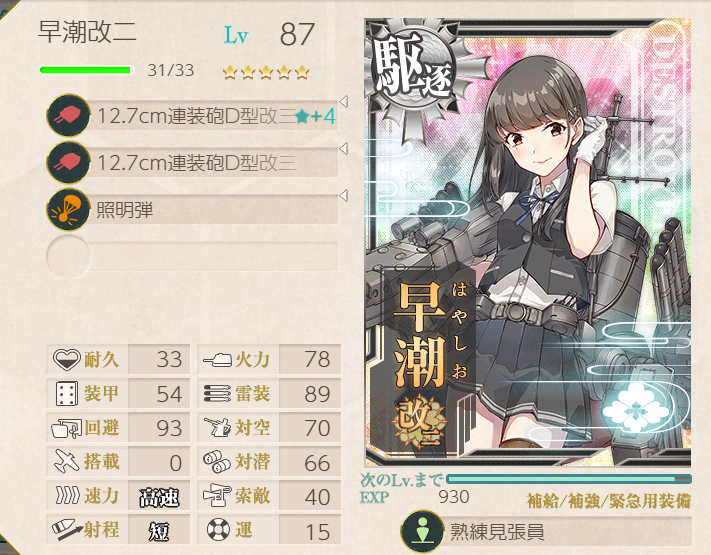
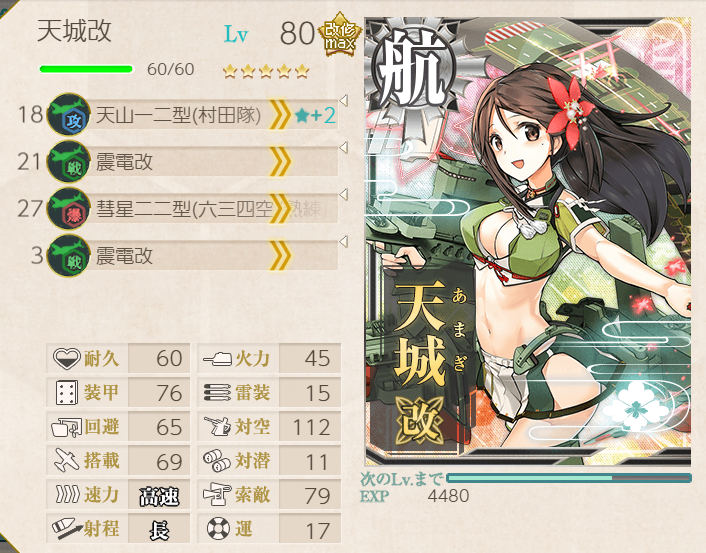
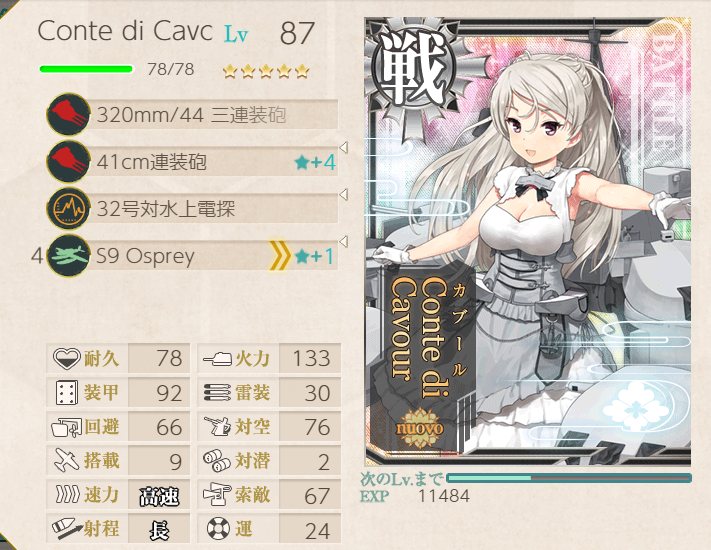
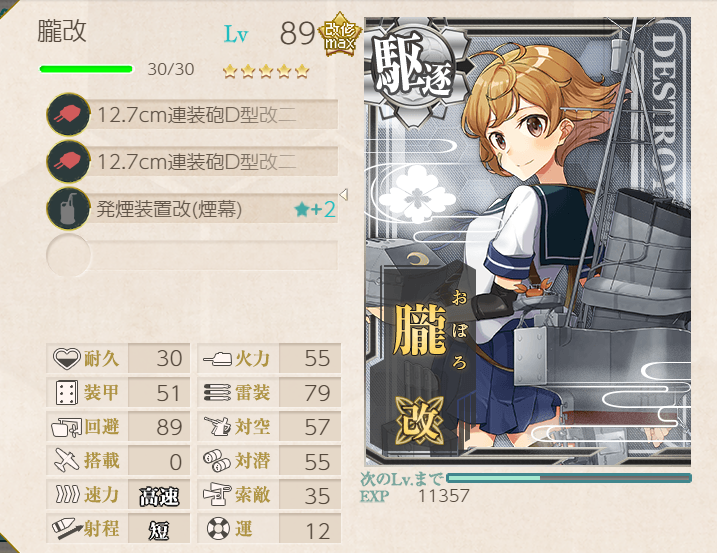
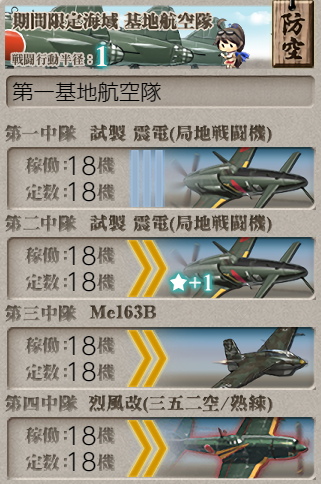
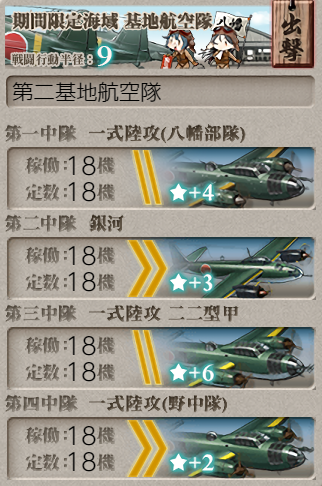
The basic fleet setup was as follows, with LBAS on the terminal node. The last ship varied. | 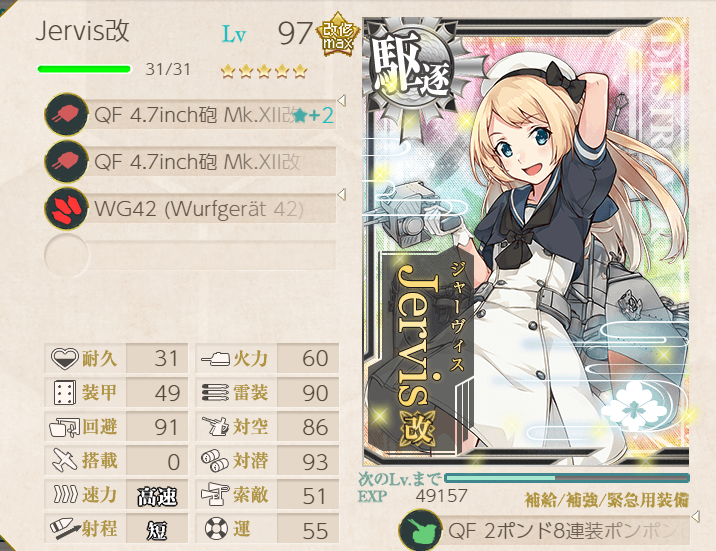 |
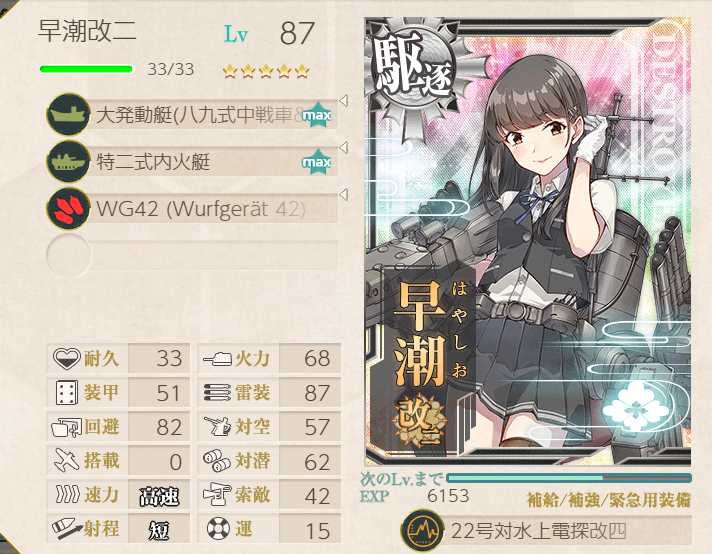 | 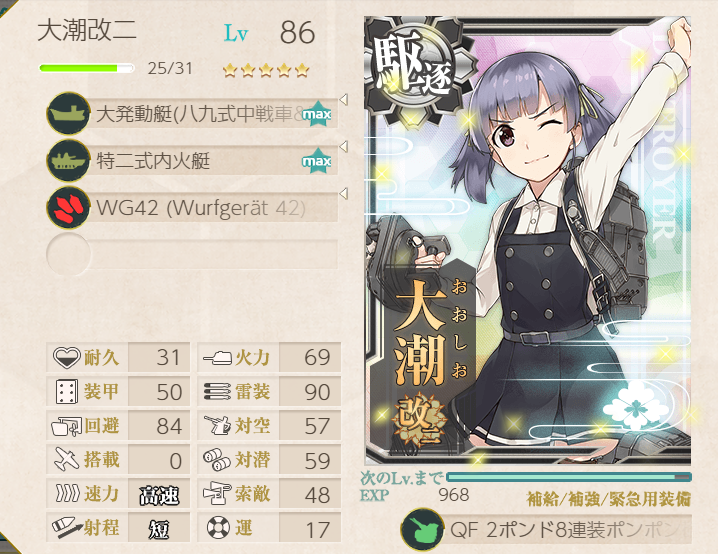 |
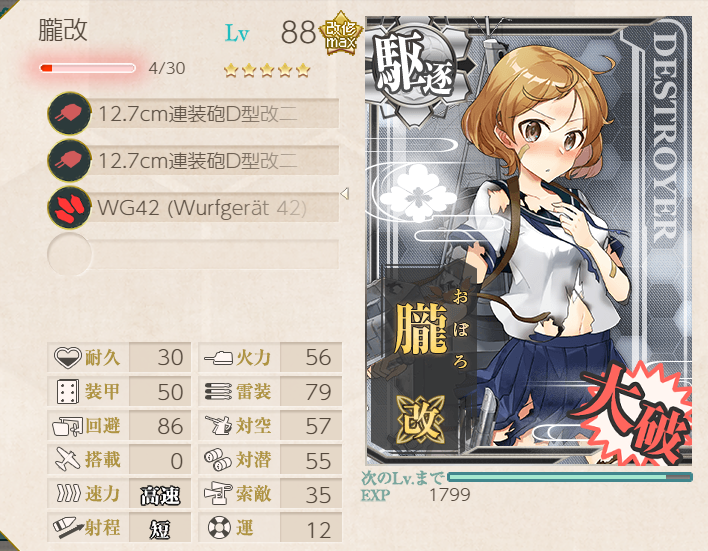 | |
 |  |
Node D
Fukae is used as a slow ship.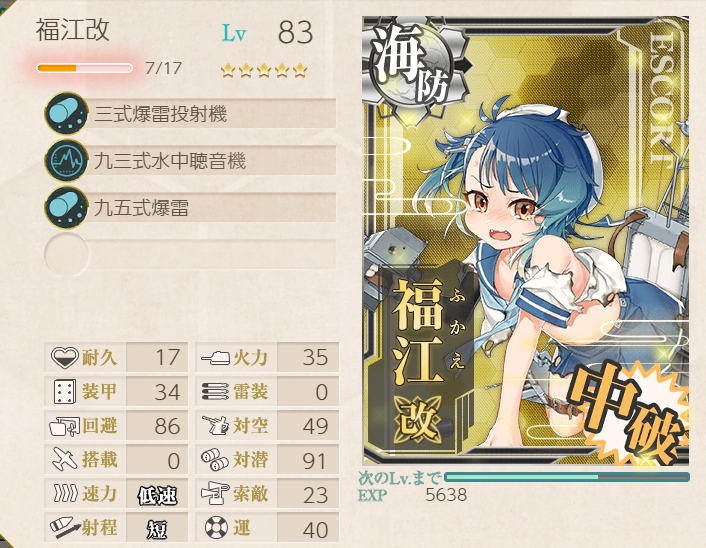 |
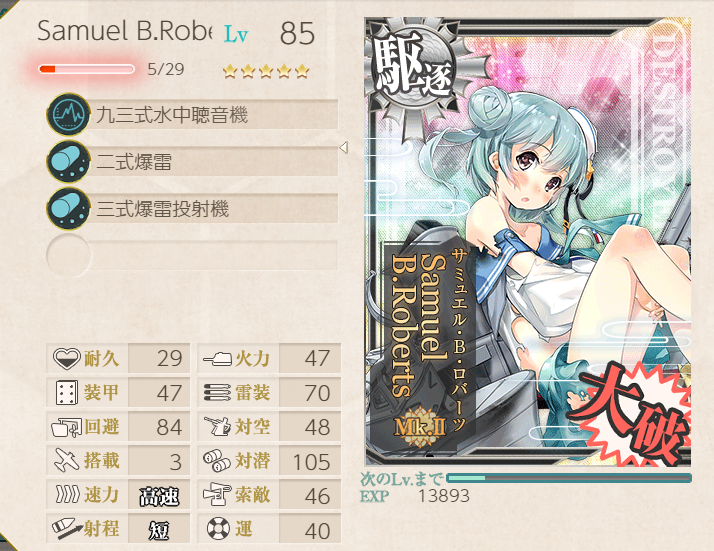
Node E
Sammy is used for some ASW support.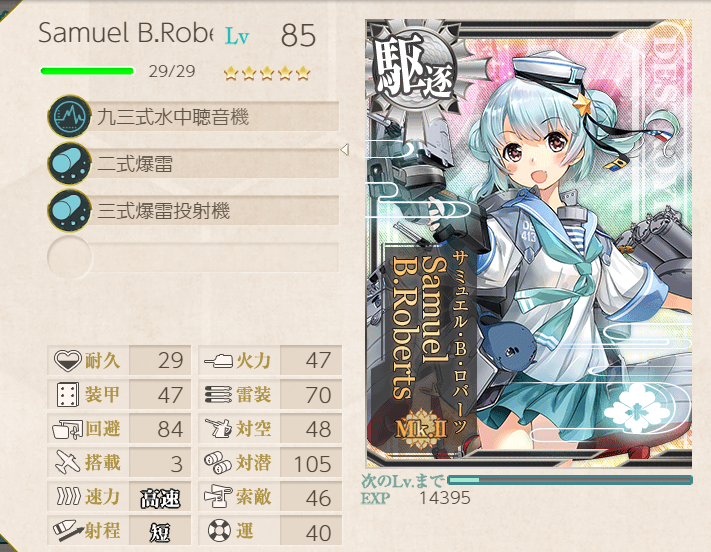 |
Node I
Sammy is used for general combat support, plus a barrage balloon for luck.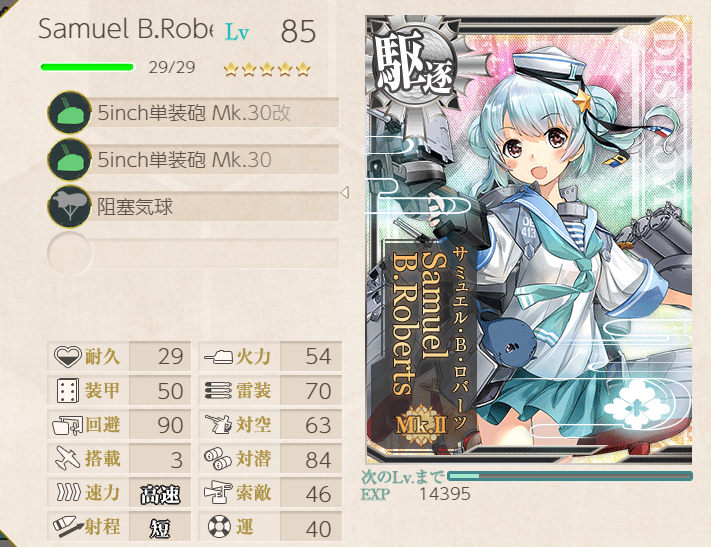 |
Node N
Switch-up to anti-imp combat roles.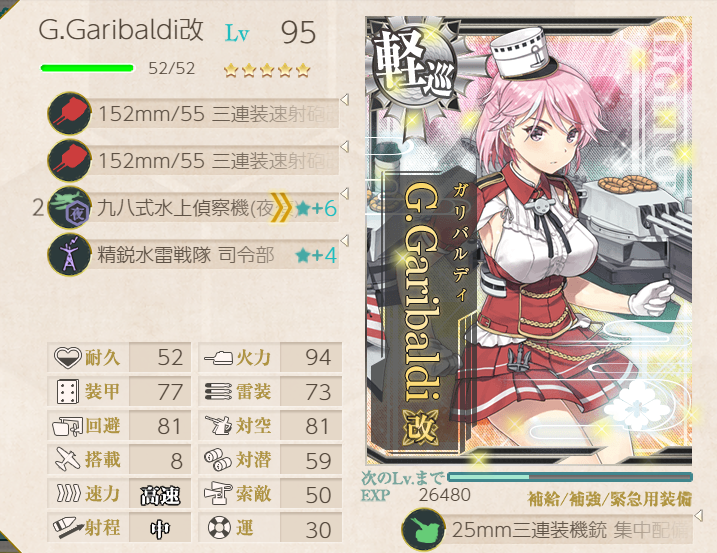 | 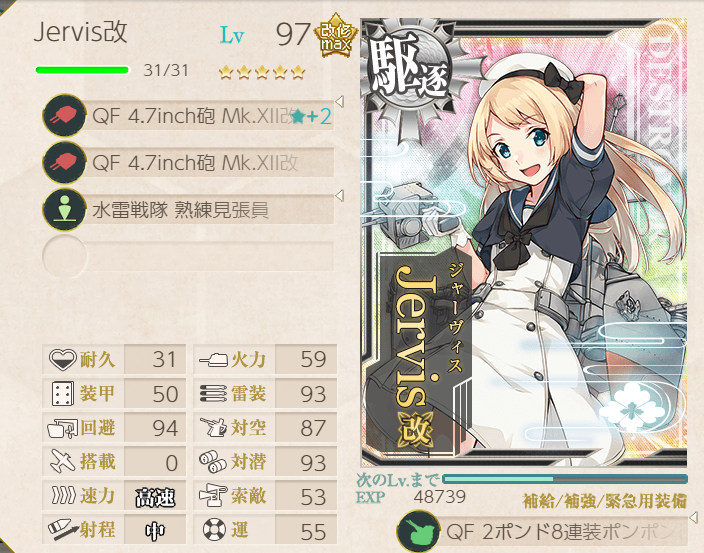 |
 |  |
 |  |
Boss 1: Light Cruiser Mu-class
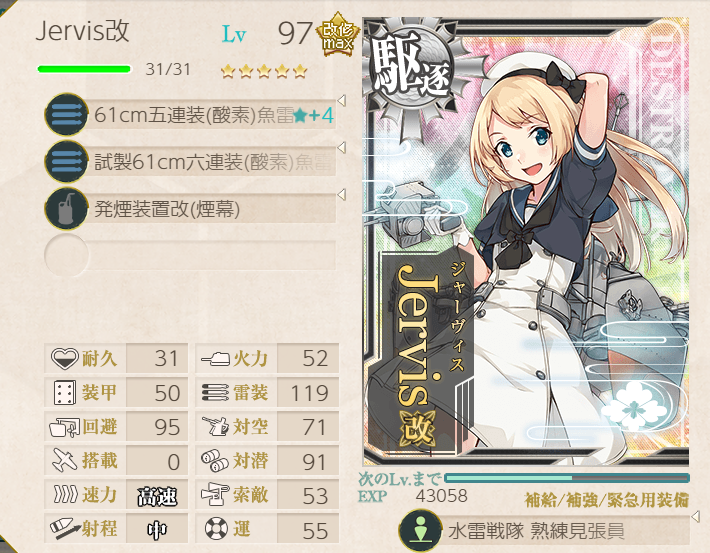
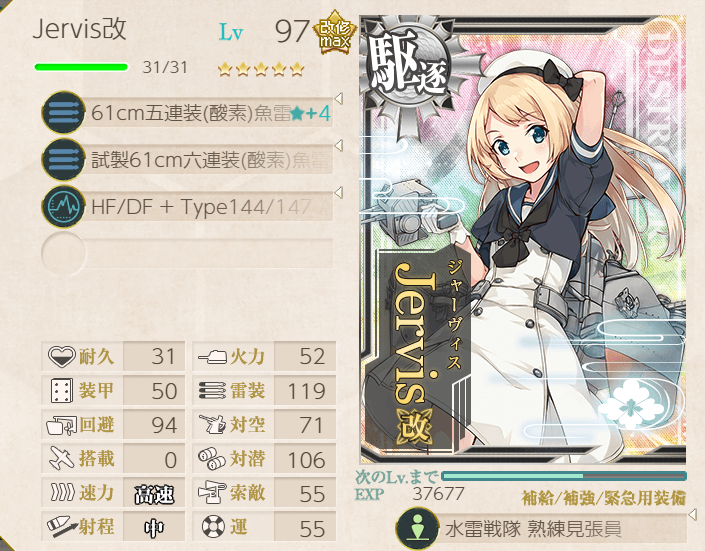
This boss was fine, but it took a bit of refinement to get something that worked ok. In particular, I got lucky on the last dance, and everyone hit her like they were supposed to! The pillbox, in particular, was quite irritating. Sparkle was important, and Jervis thwacked the boss as planned! Boss support was used only for last dance. Not sure it made much of a difference. |  |
 |  |
 |  |
 | |
 |  |
Boss support
Second Unlocks
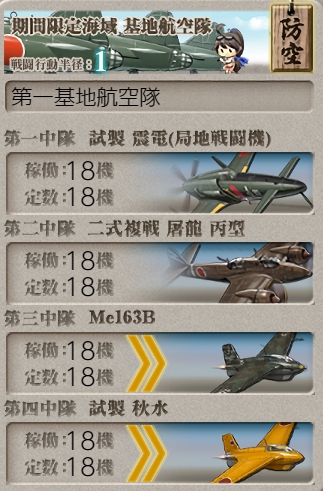
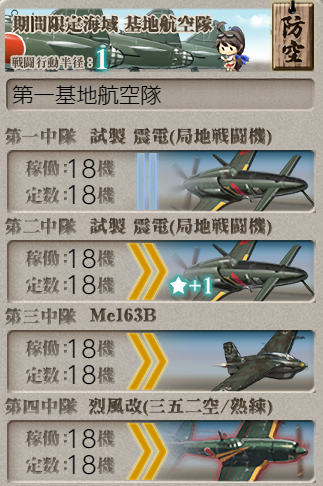
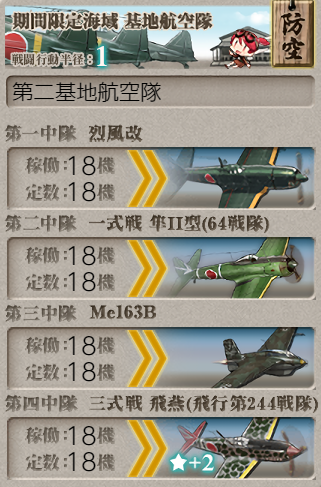
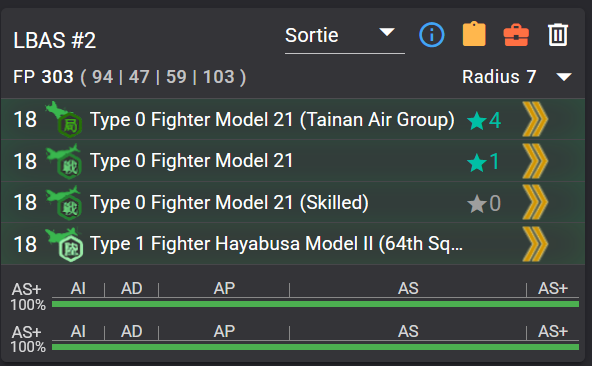
For getting AS at S, one LBAS had all range 7 fighters, otherwise both bases on defense with as high air defense as possible. The hardest part was getting the LBAS raid to trigger before I got to S... |  |
 |  |
 |  |
 | |
 |  |
 | |
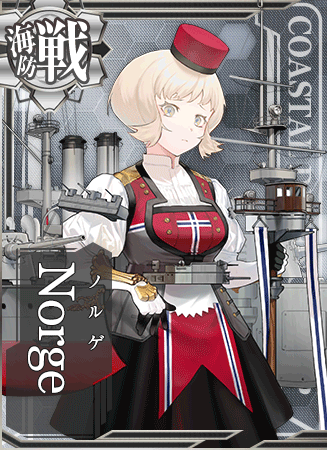
Final Boss: the Fjord Princesses
Straight-forward boss phase, with Jervis dealing the final shot, yet again! The unlocks were done with the same fleets as previously.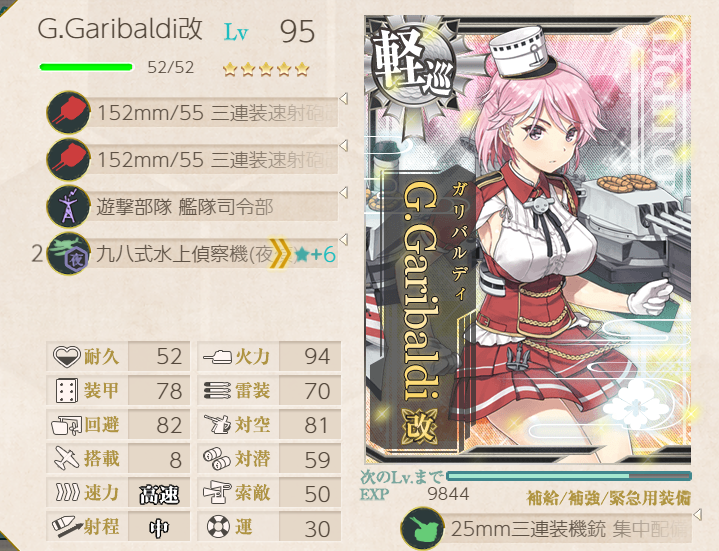 | 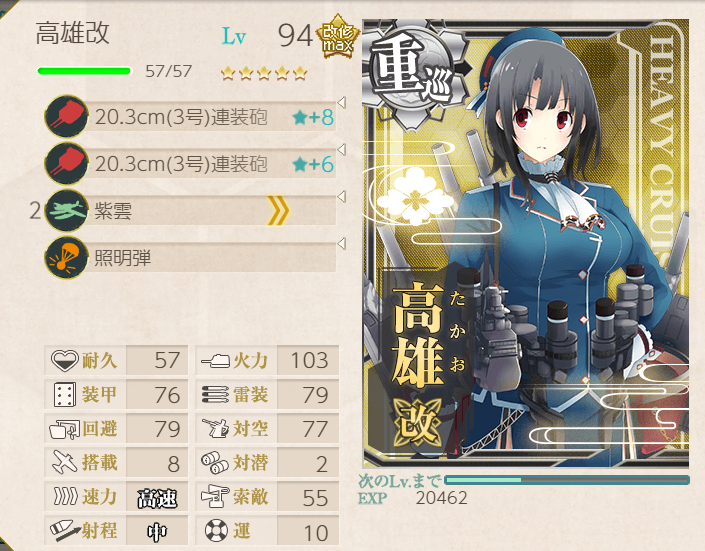 |
 |  |
 |  |
 | |
 |  |
Boss support