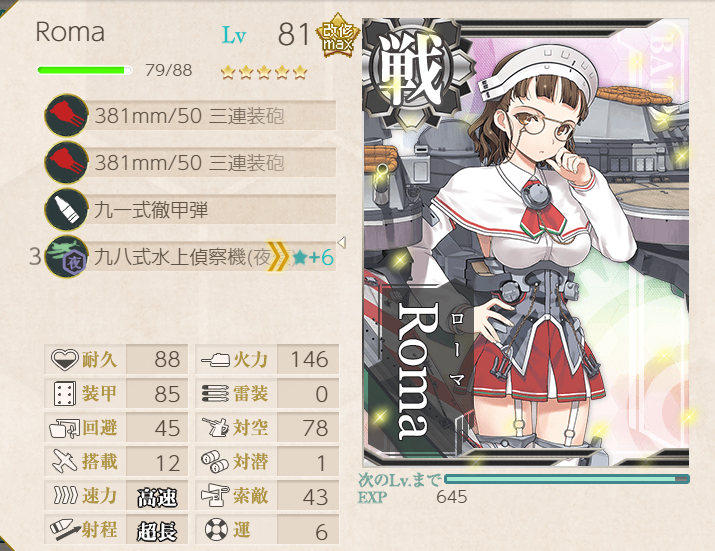
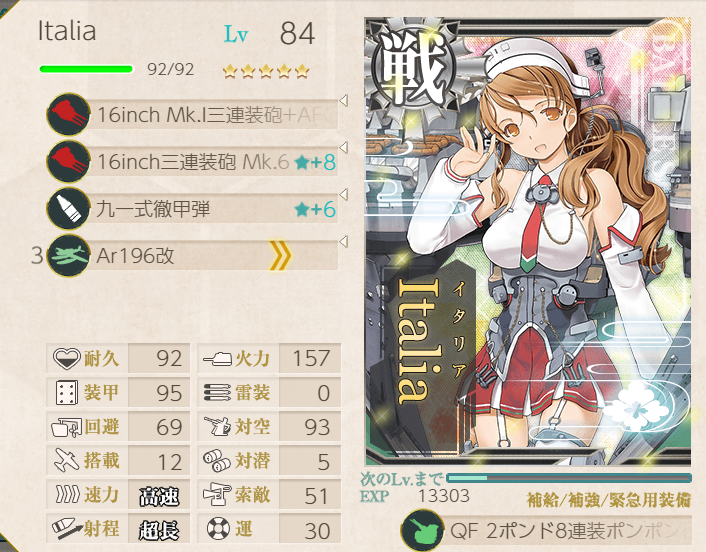
We pulled out the Italian fleet! This was a simple and straight-forward operation.
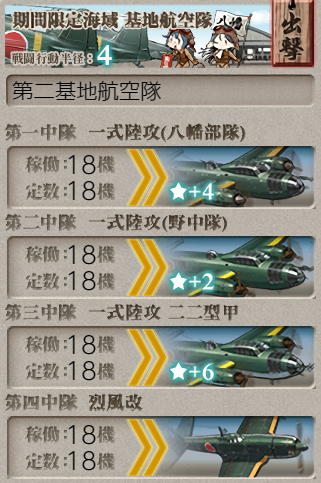
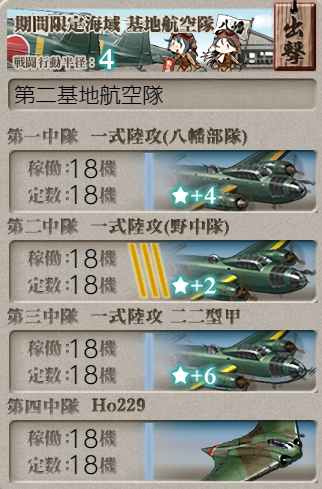
The first LBAS was sent to B and L, and the second to the boss (M).
Gimmick 2: Unlocks
We didn't have to do the unlocks at J due to being on easy. For the second set, we used the
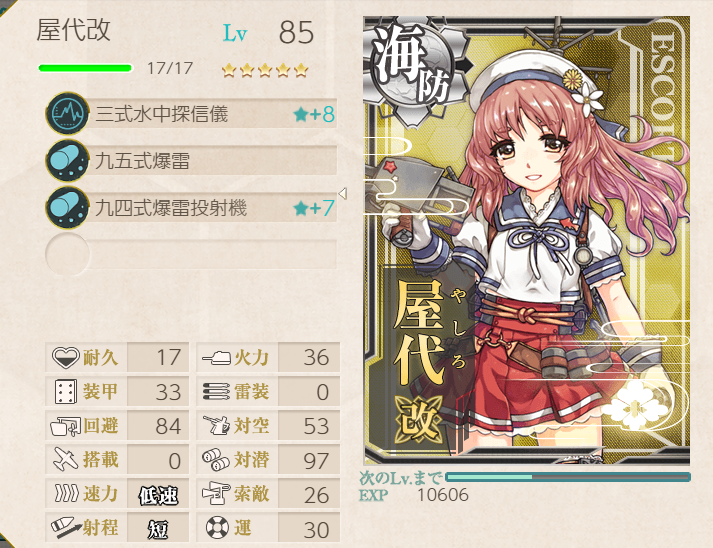
same fleet as Boss 1 at R, and a swap to Yashiro from Italia (because we needed a slow fleet).
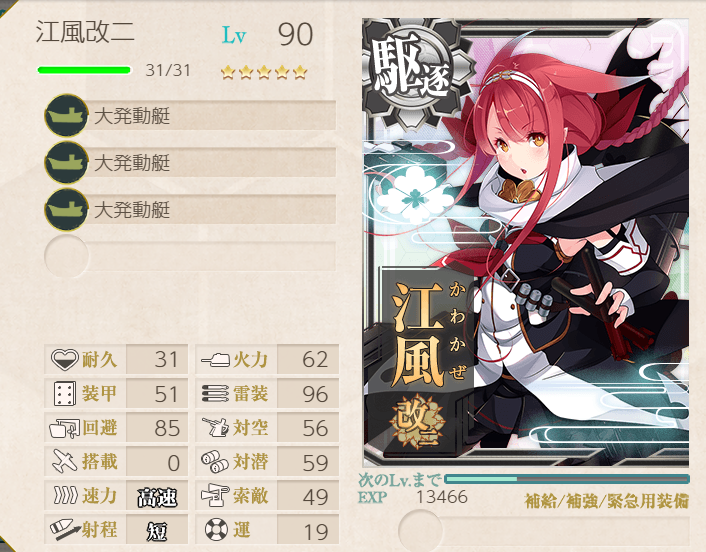
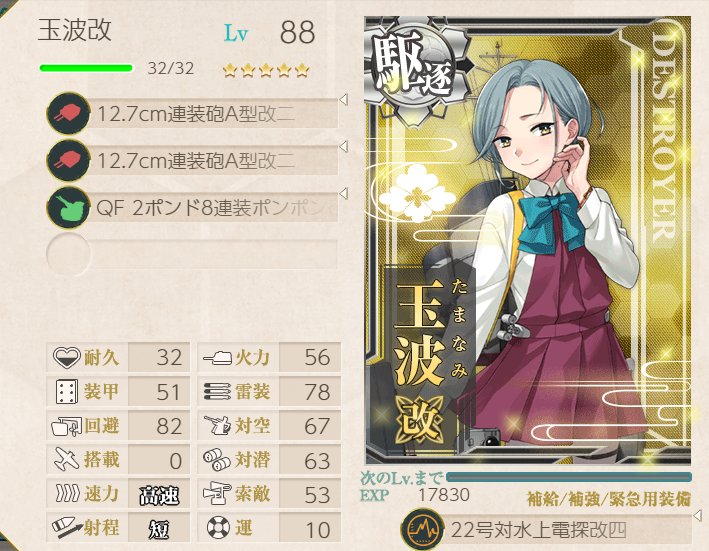
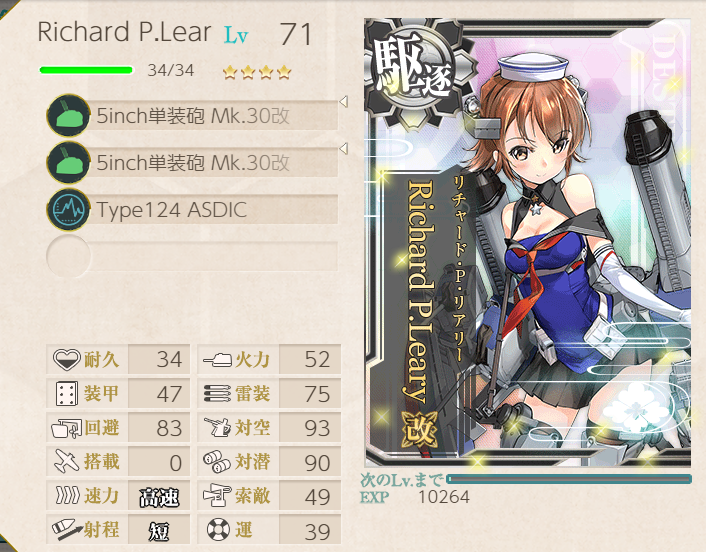
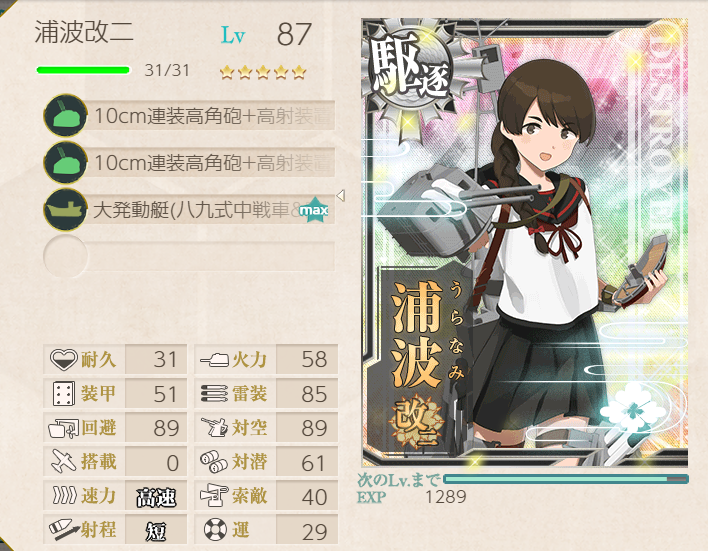
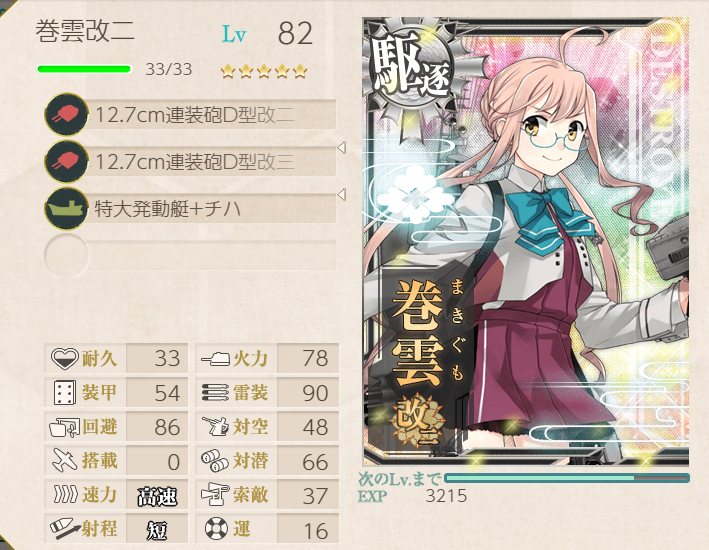
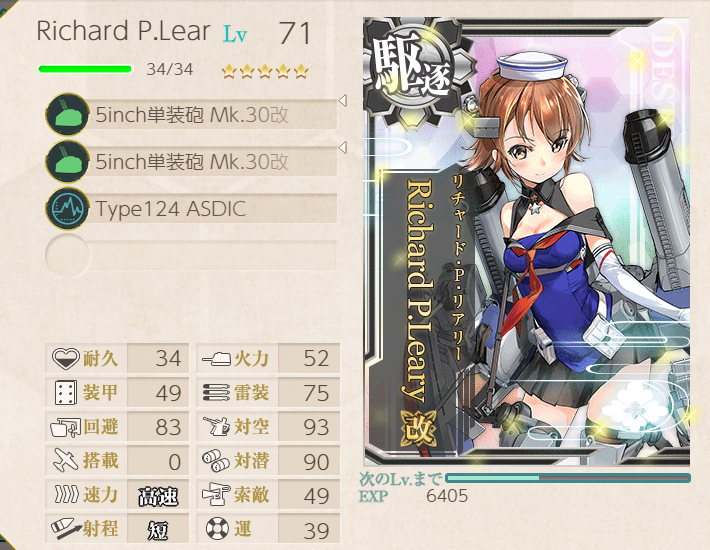
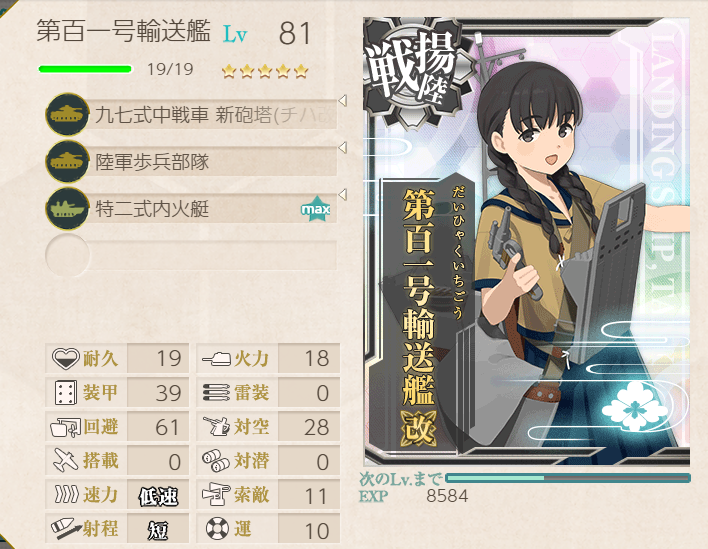
Node Q has our transport fleet used for Boss 2, but outfitted for combat!
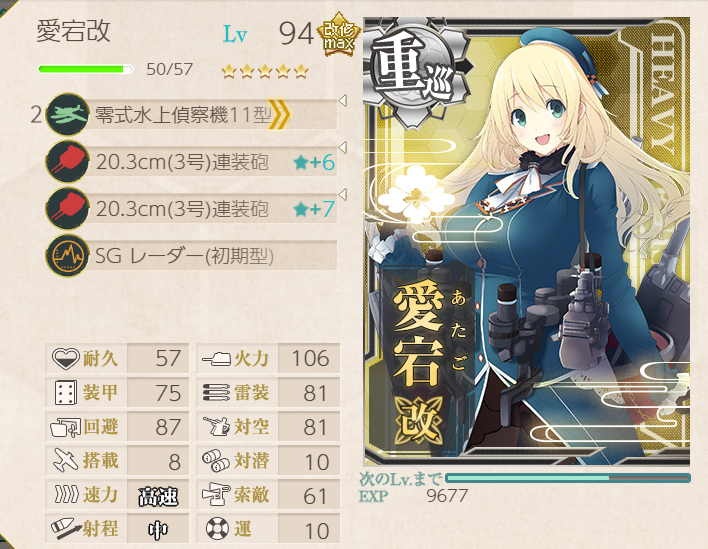
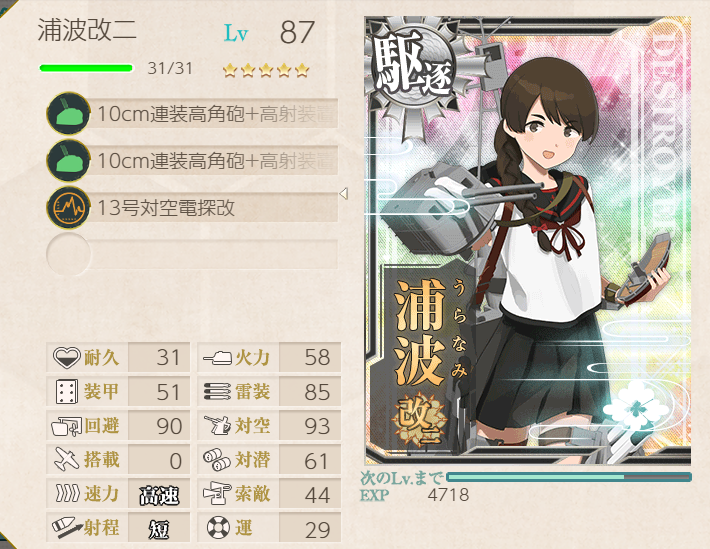
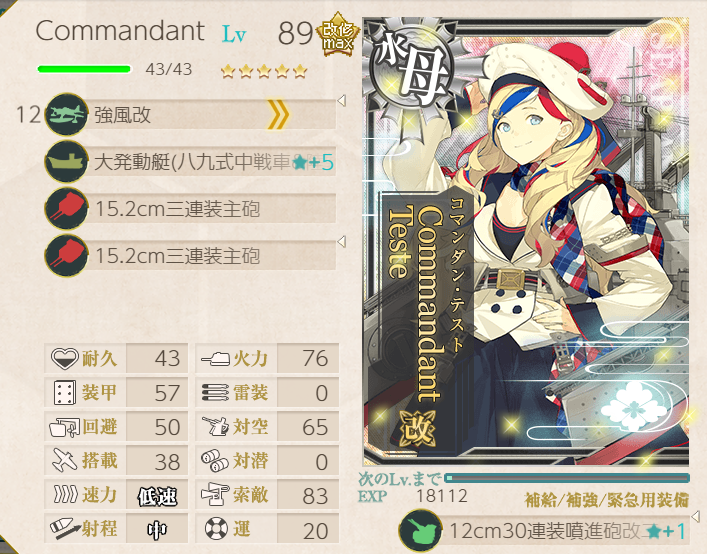
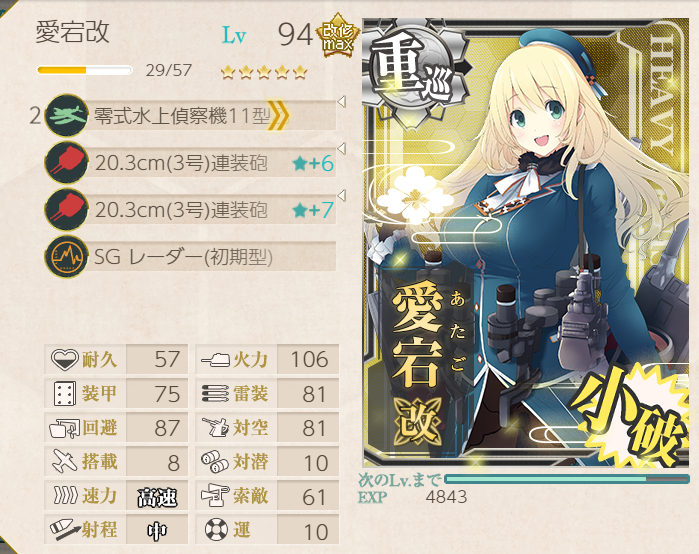
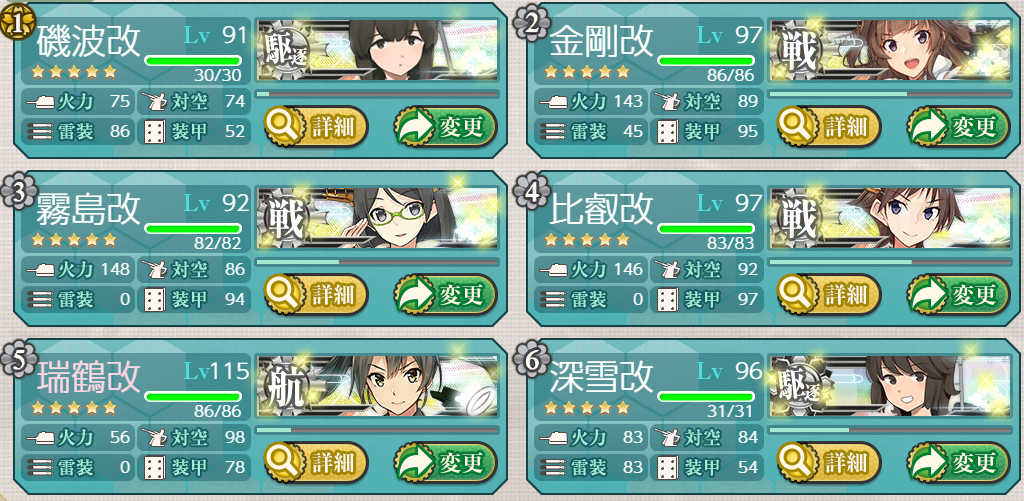
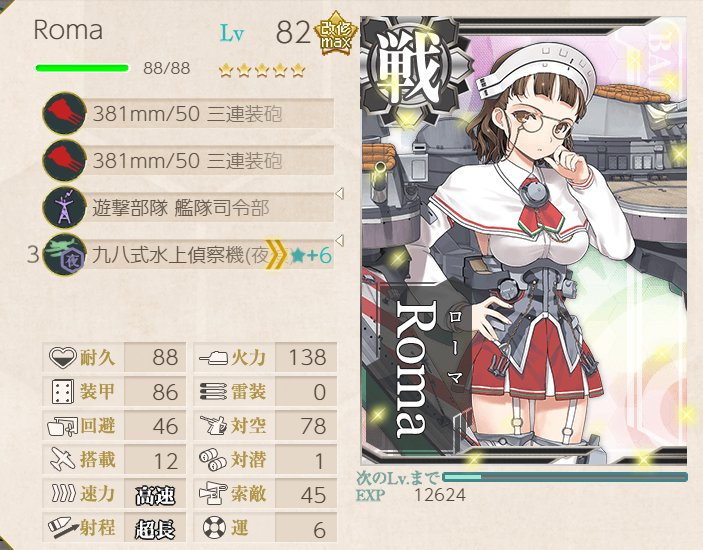
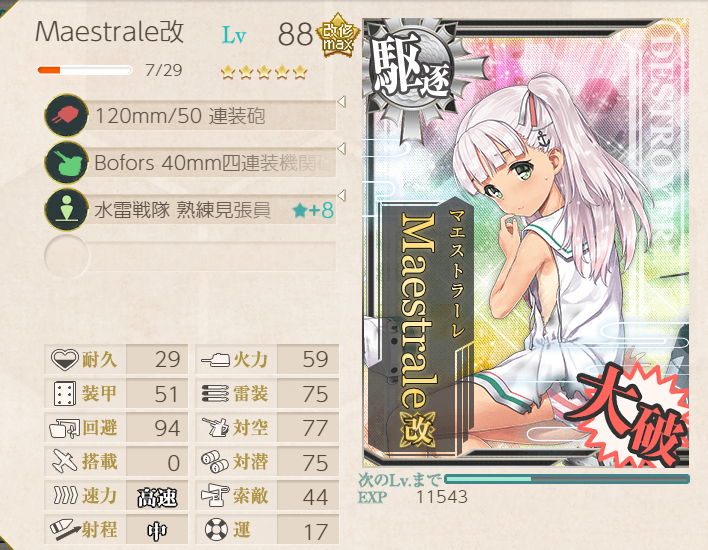
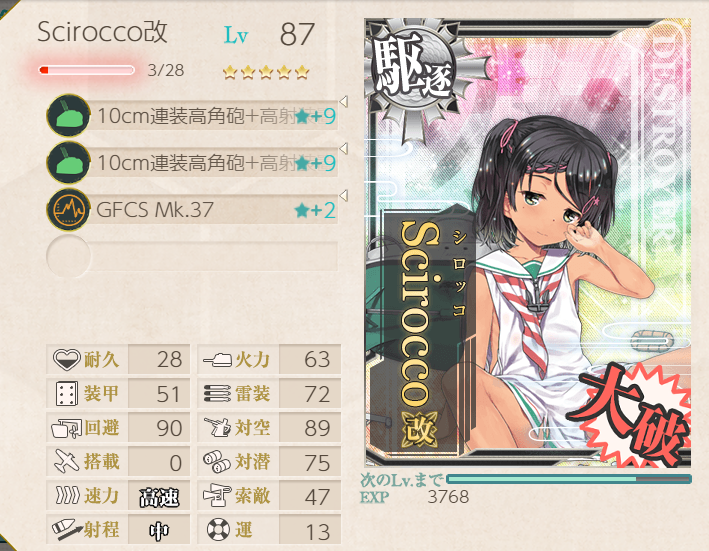
Main Fleet
Escort Fleet
Boss 2: Transport Operation!
This was a straight-forward transport operation, with fancy tanks! The fleet as pictured
can get 317 transport points on S-ranks! However, we got one A and two S-ranks. Getting to
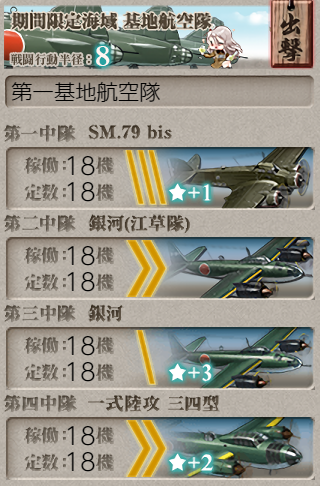
the boss node, on the other hand, was a bit of a pain. The first LBAS was sent to V, and
the second to the boss (X). Node support was used on the final run as an insurance policy.
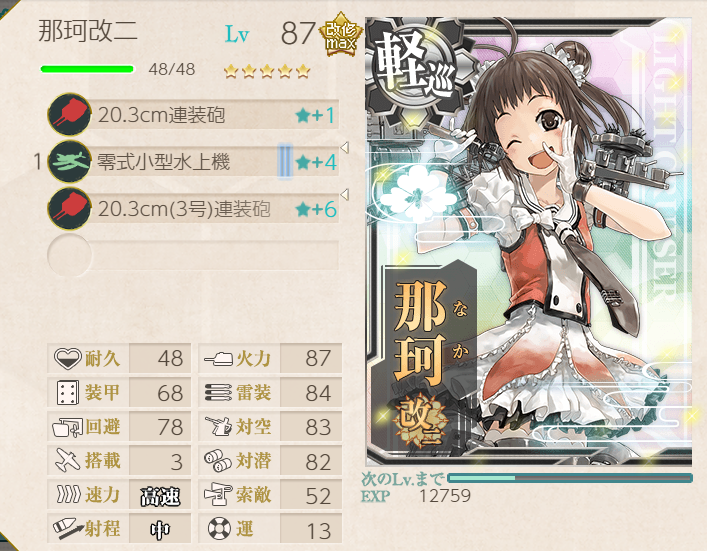
Naka did fabulously at killing the boss during night battle!
Main Fleet
Escort Fleet
Node support
Gimmick 3: Unlock at E
The first LBAS to B and L, the second to E. Node support was used for insurance.
Node support
Boss 3: Solitary Fjord Princess
This was a straightforward, but a little tough, boss phase. We opted to go a bit overkill
with ships due to expecting to do most remaining maps on Easy. Warspite, despite her
special bonuses and usage in E3, was accidentally locked to E1, so might as well use her
here instead, since we're going to attempt E3 on Medium.
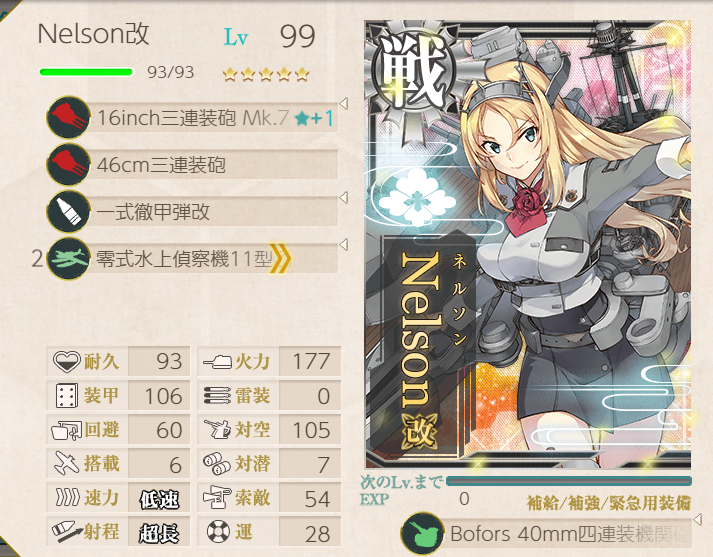
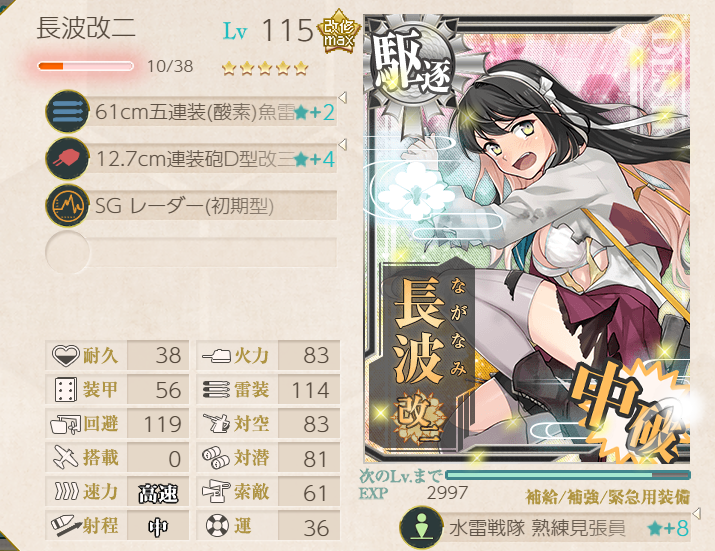
Using the Nelson Touch was a bit extra, but very helpful. The three cut-ins in the escort
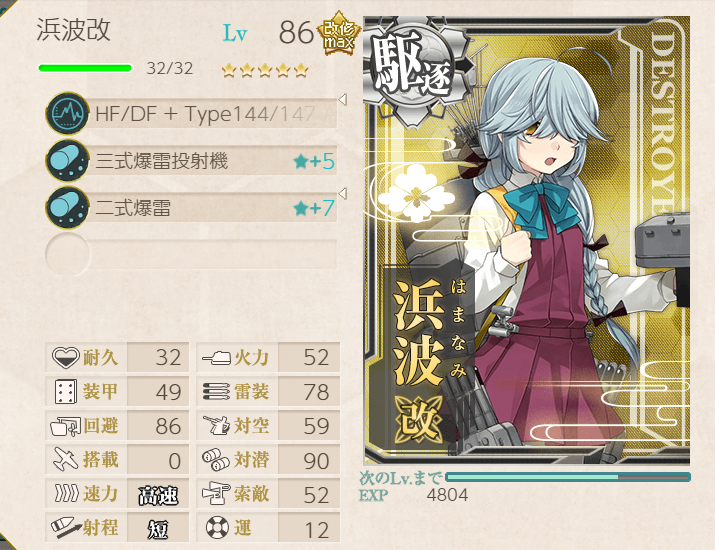
fleet were a good insurance policy, but Naganami managed to down the boss in the end. Note
that Hamanami does not have enough ASW to do an opening attack...this was an oversight, but
it didn't really matter in the end.
Node support was always used, and boss support only for Last Dance. The extra imp node (O)
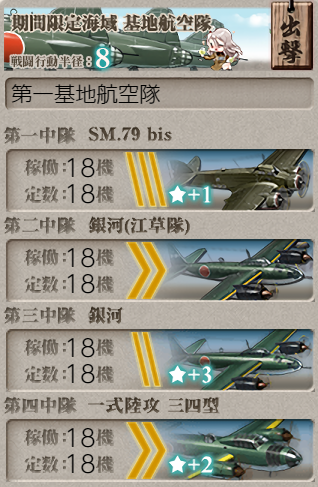
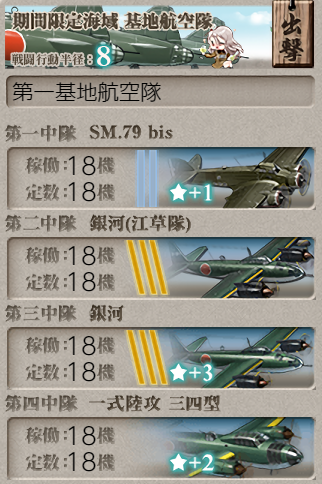
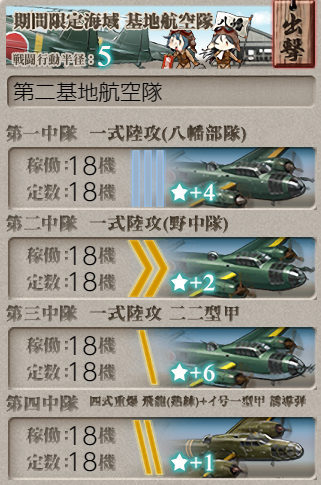
was never a problem with node support. All LBAS bases were sent to the boss (Y). The final
debuff was not needed.
Main Fleet
Escort Fleet
Node support
Boss support
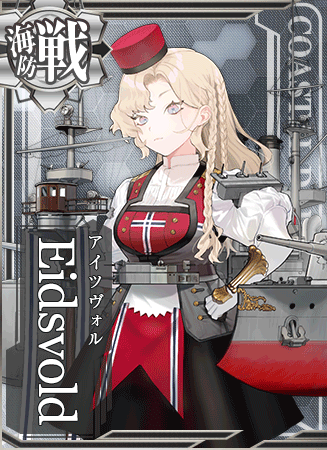
Eidsvold Rescued!
Welcome to the Shortland Anchorage Naval District, Eidsvold!