Gimmicks, Part I
Node B4 / Node D3 / Node E2
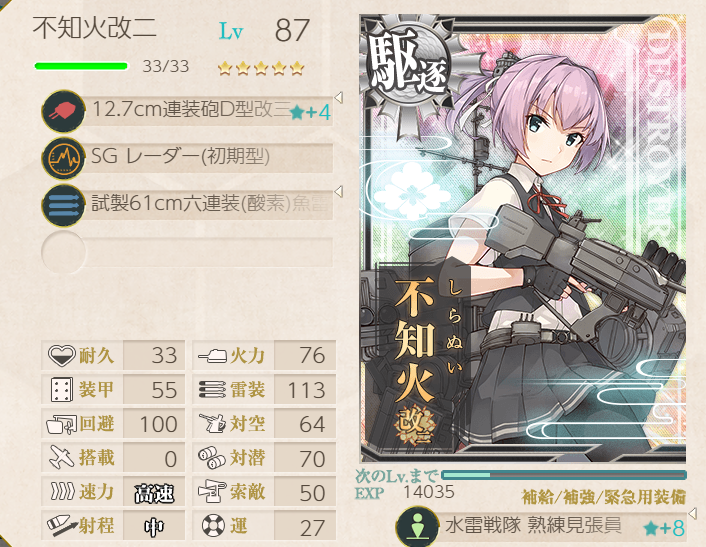
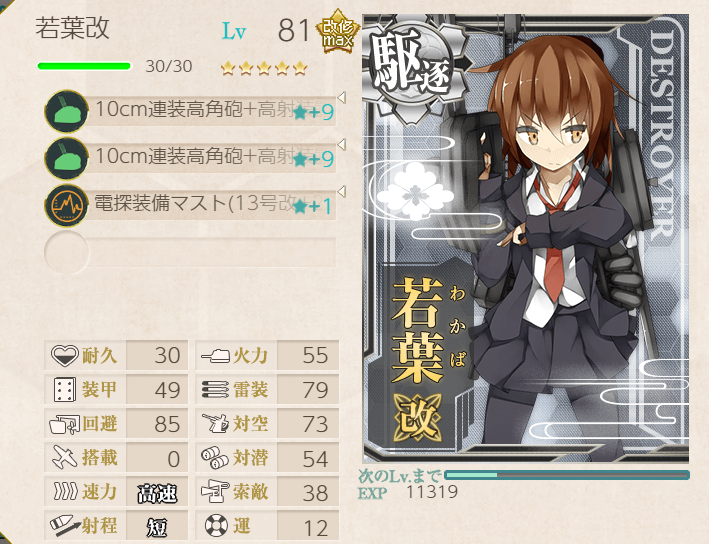
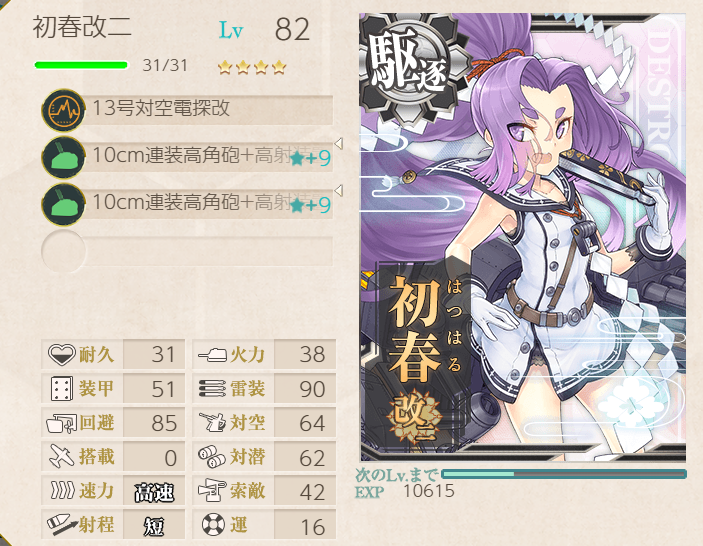
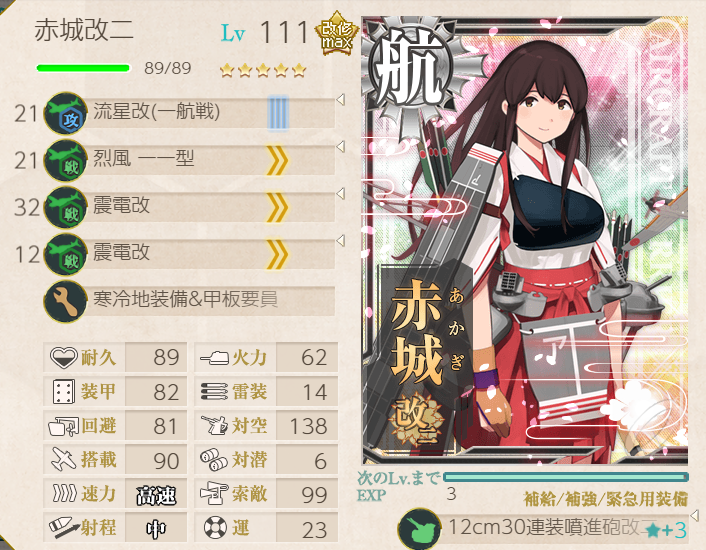
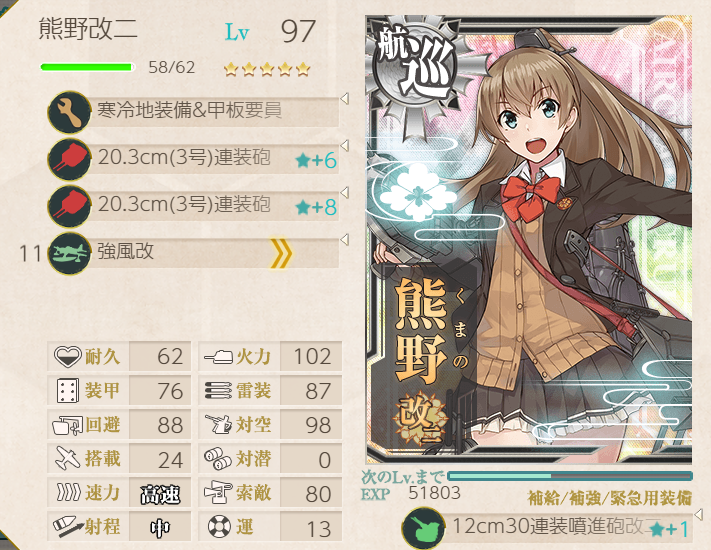
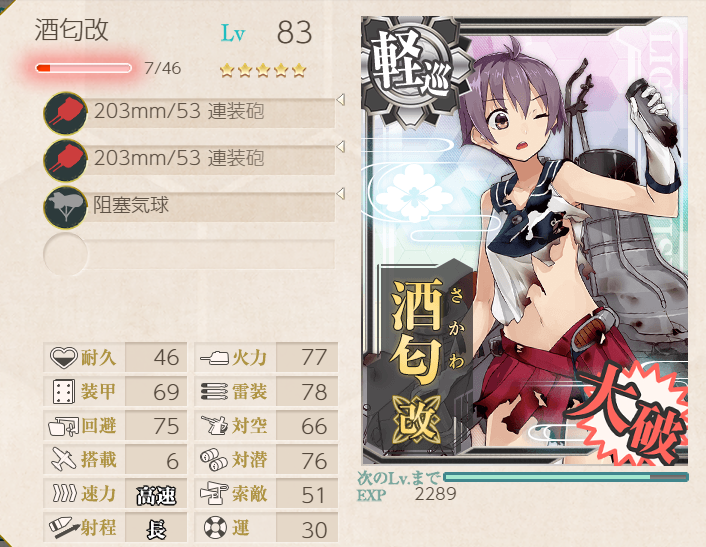
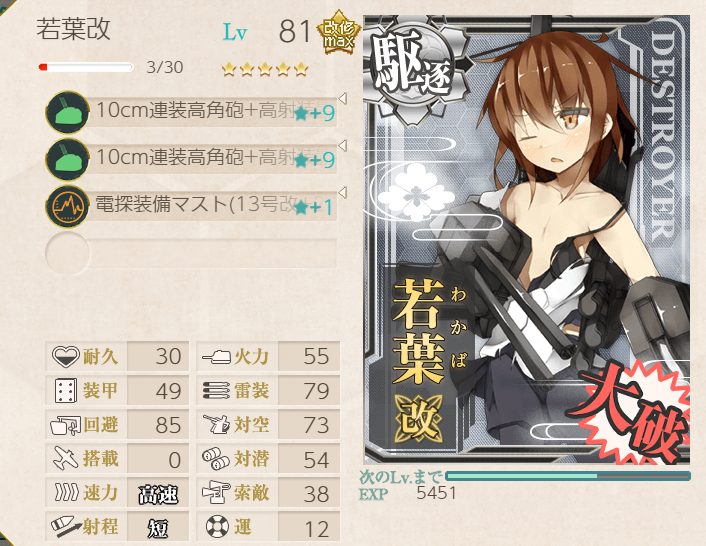
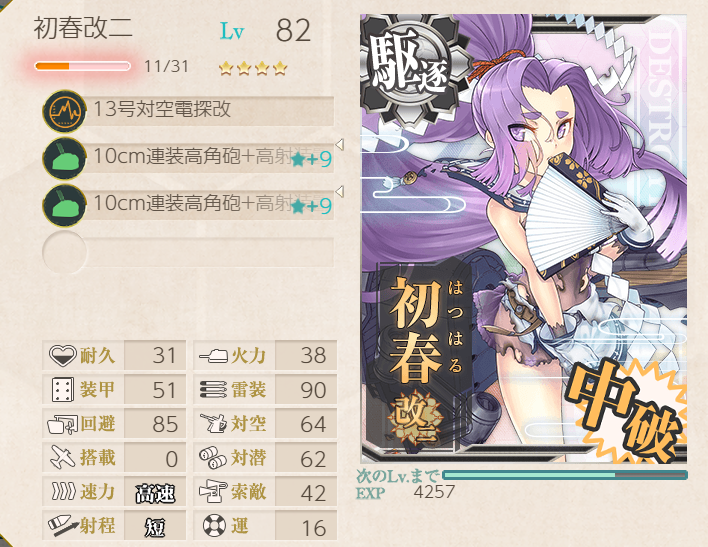
A similar fleet from E2 was reused, though note the addition of Usugumo, so that we had four "historical" ships in the fleet (Nachi, Abukuma, Hatsushimo, Usugumo). |  |
 |  |
 |  |
 | |
 |  |
 | |
Northern Water Princess at Node G
This fight didn't put up much resistance until the last dance. The last dance took a few runs to clear, mainly due to the tankiness of the escorting ships, but we got it! Hatsushimo got a beautiful kill with a torpedo cut-in. |  |
 |  |
 |  |
 | |
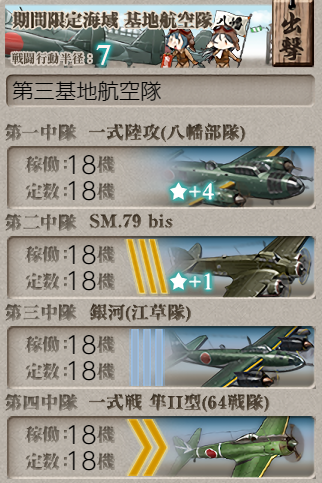
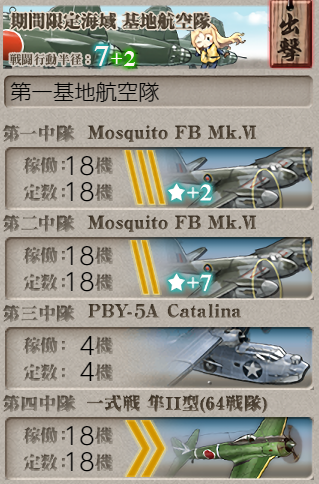
Boss support
 |  |
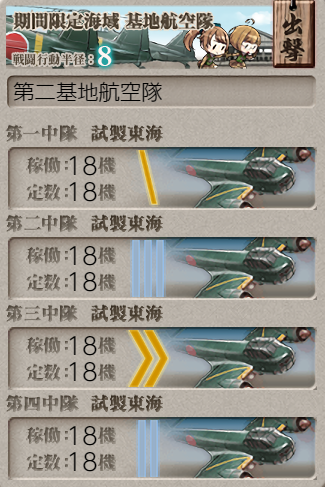
Gimmicks, Part II
Node H3 / Node I1
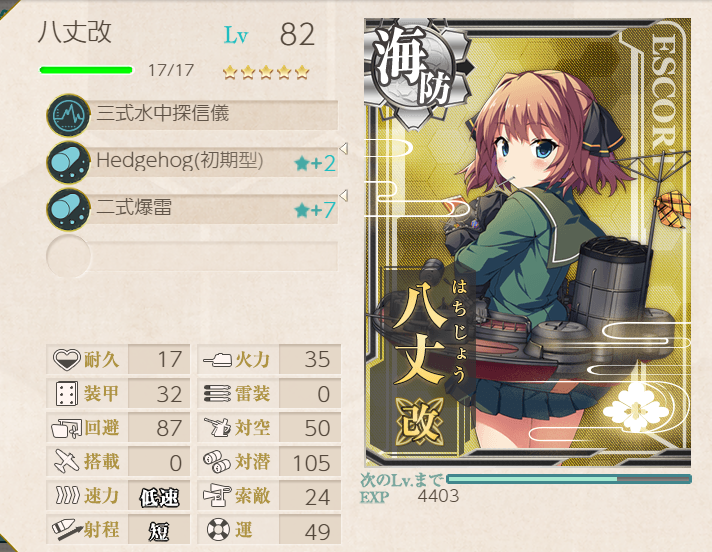
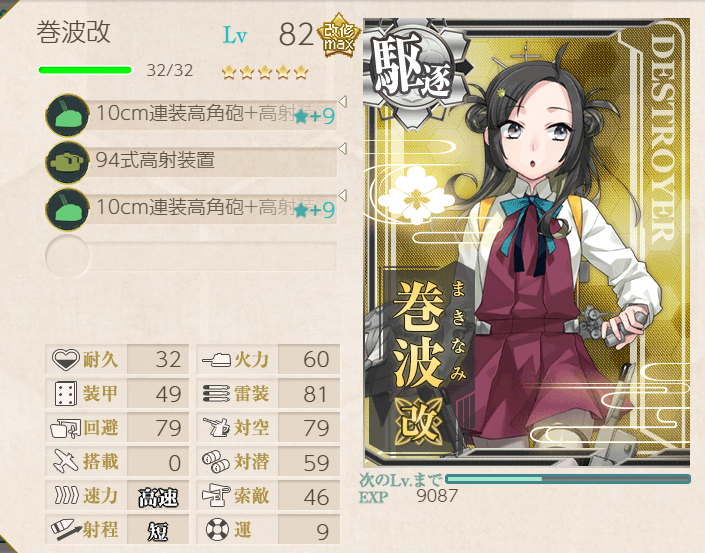
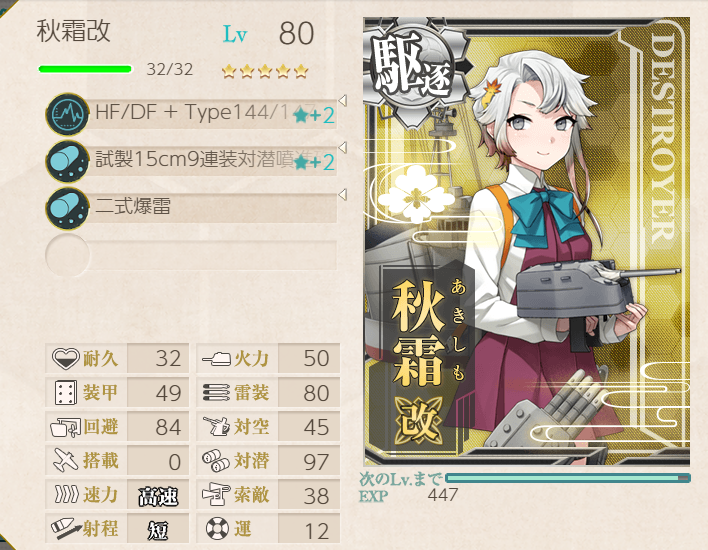
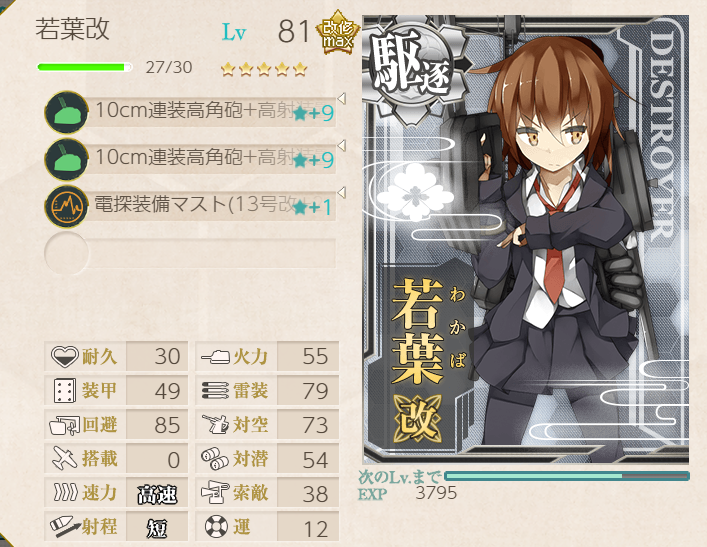
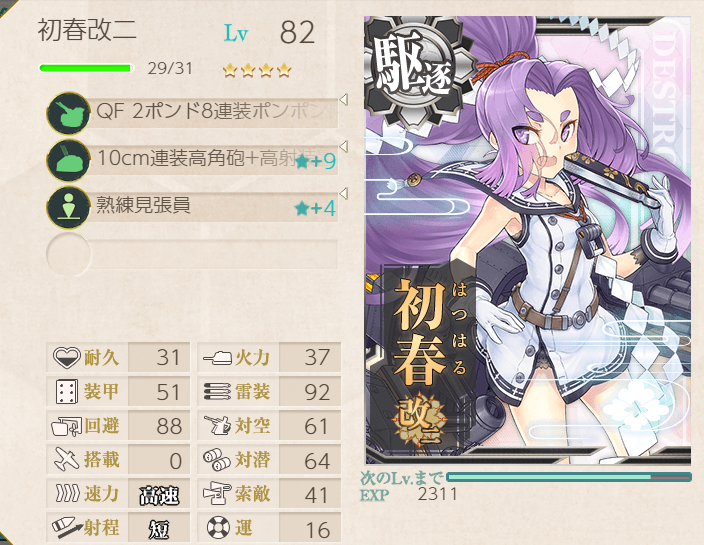
Striking fleet with ASW equipment. | 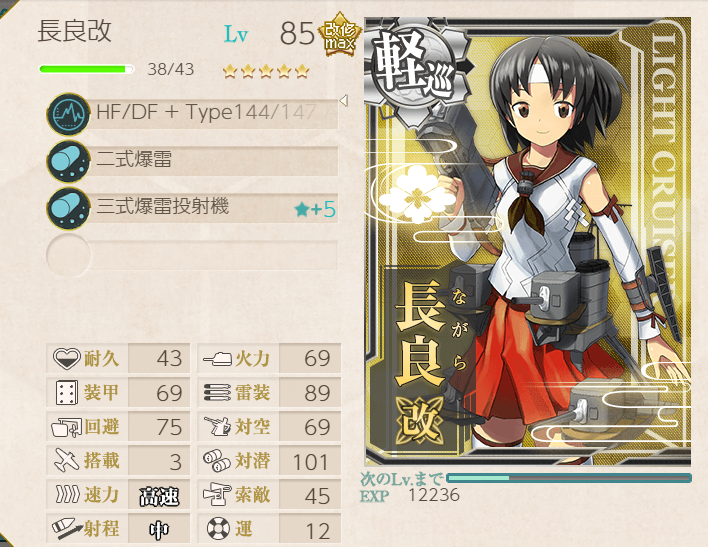 |
 |  |
 |  |
 | |
 |  |
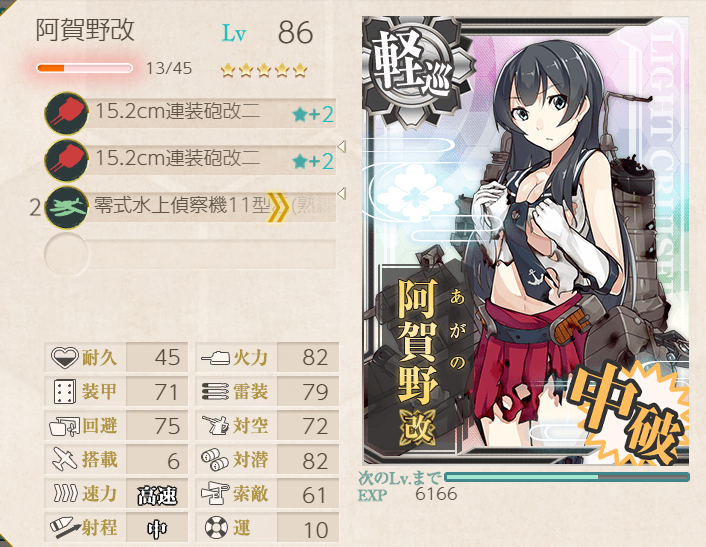
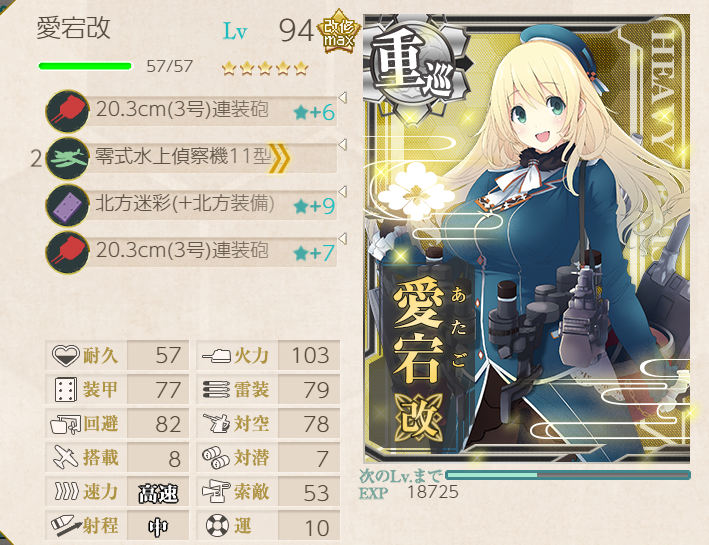
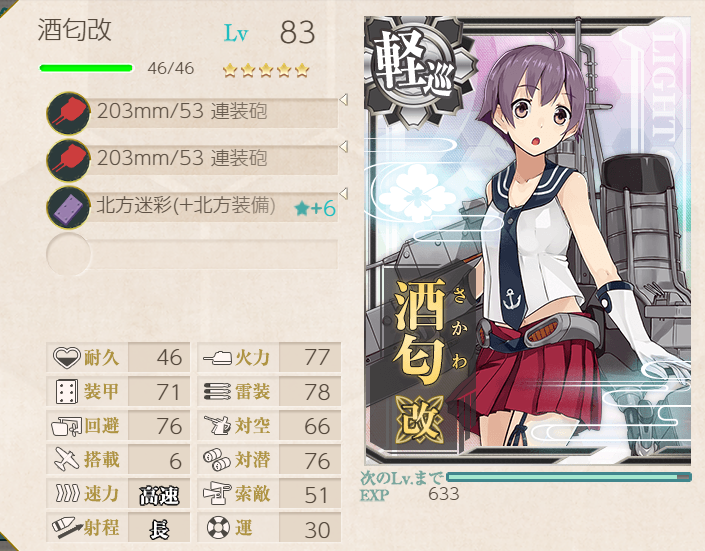
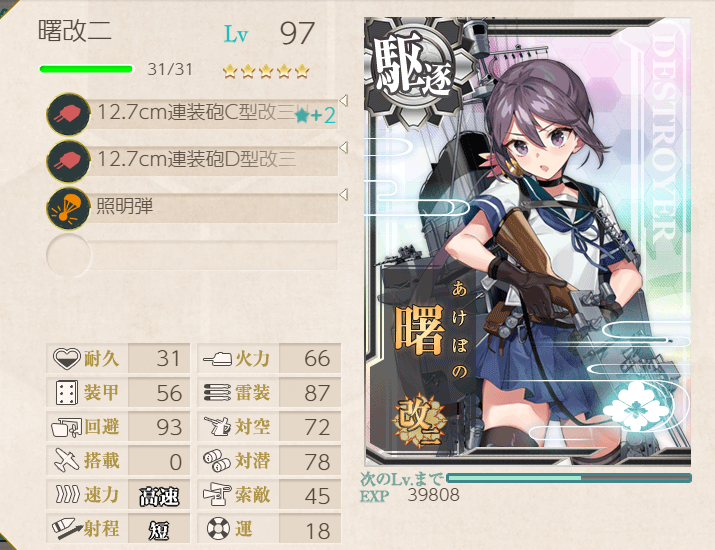
Node I3 / Node K2
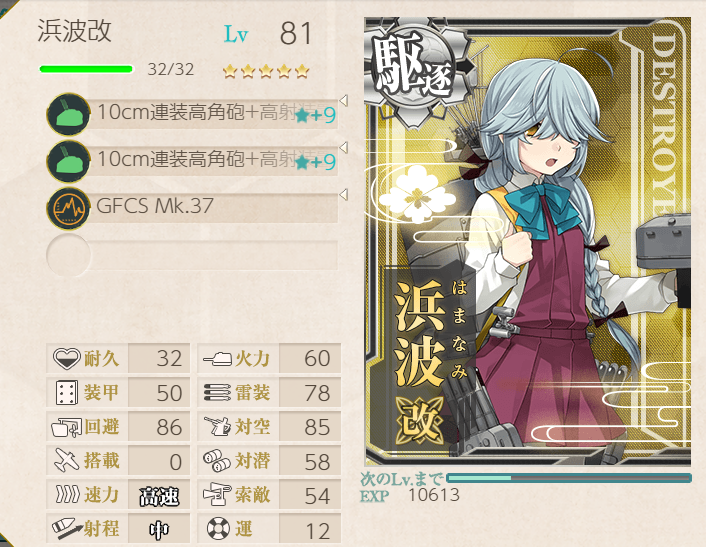
Only a six-ship single fleet for surface combat. |  |
 |  |
 |  |
 |  |
 |  |
 |  |
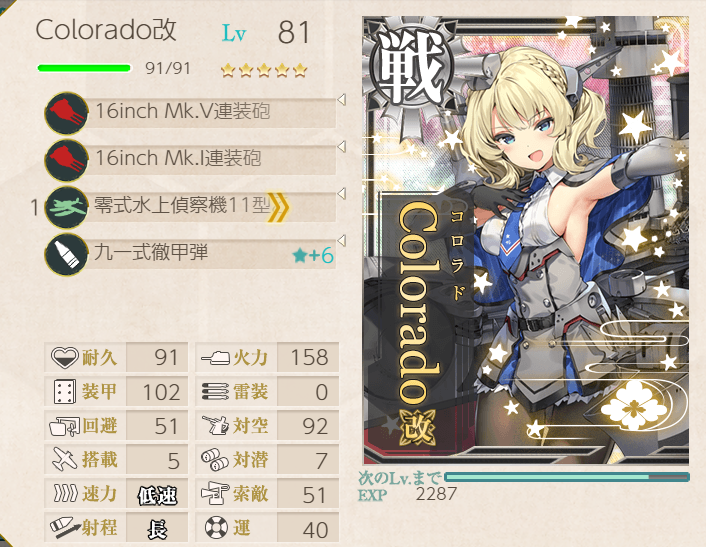
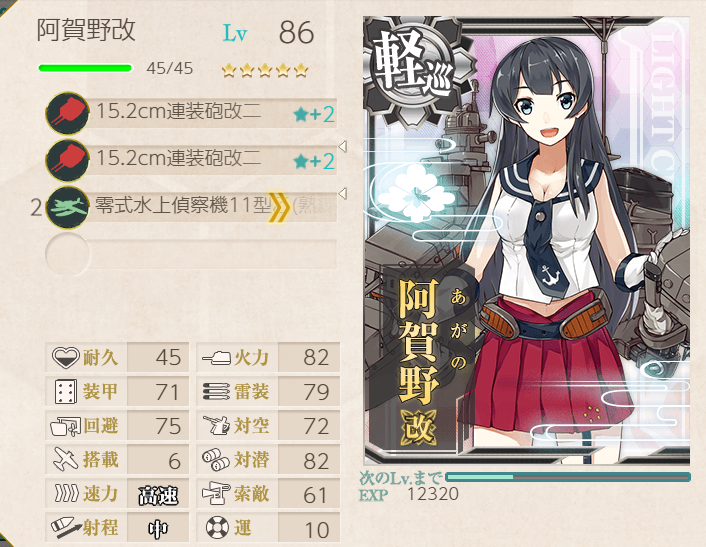
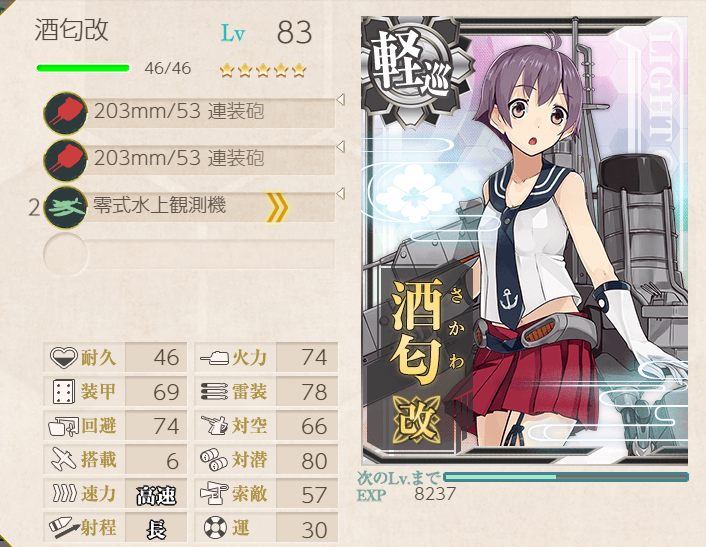
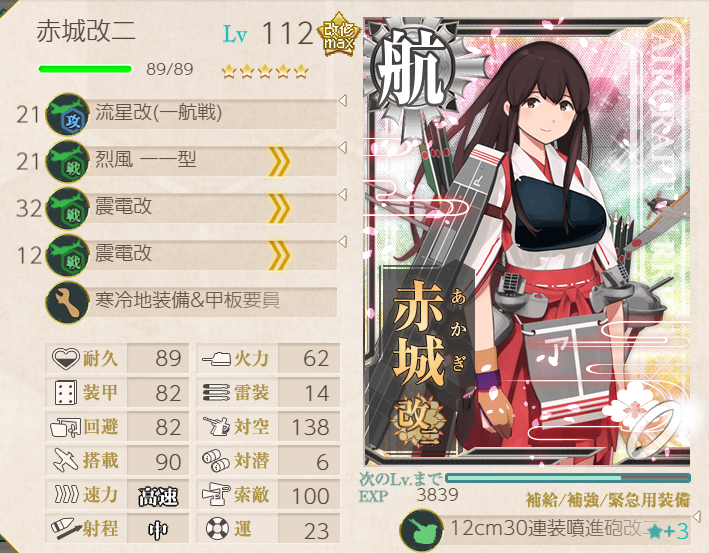
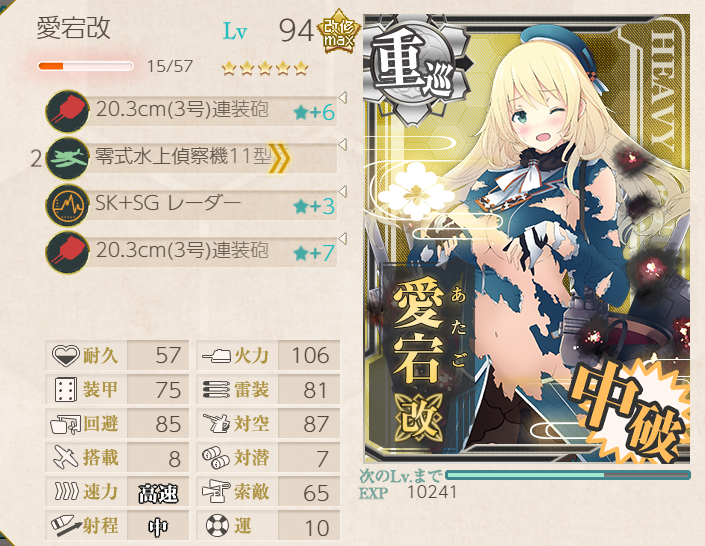
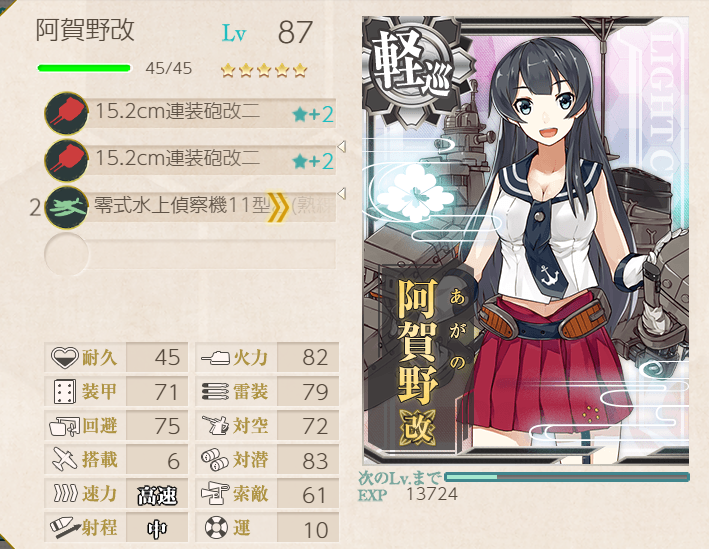
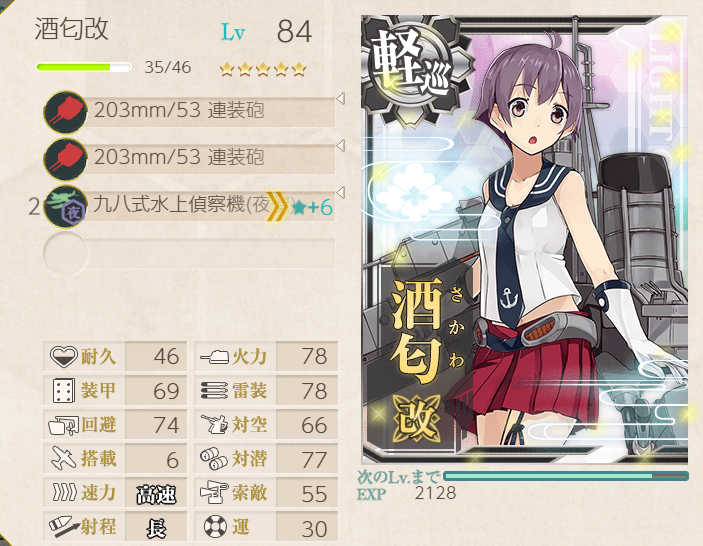
Node M1 / Node M2
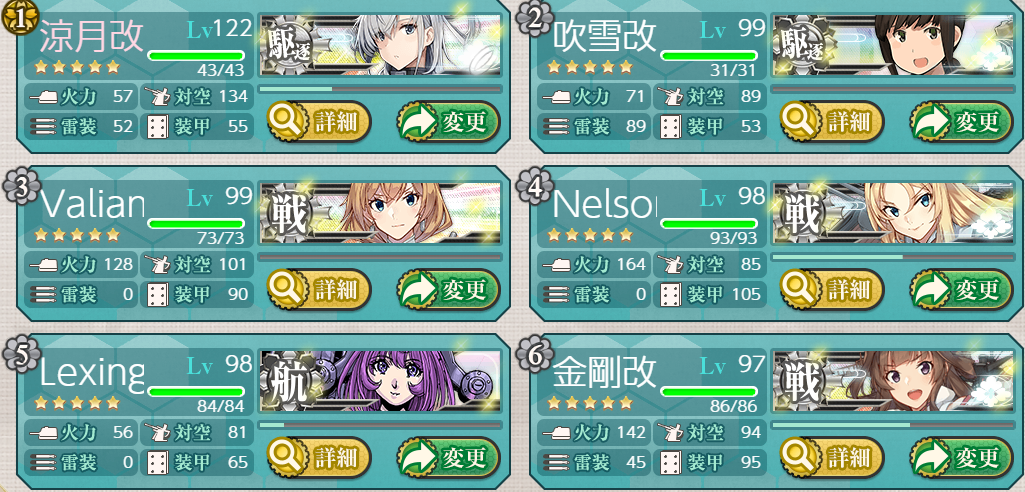
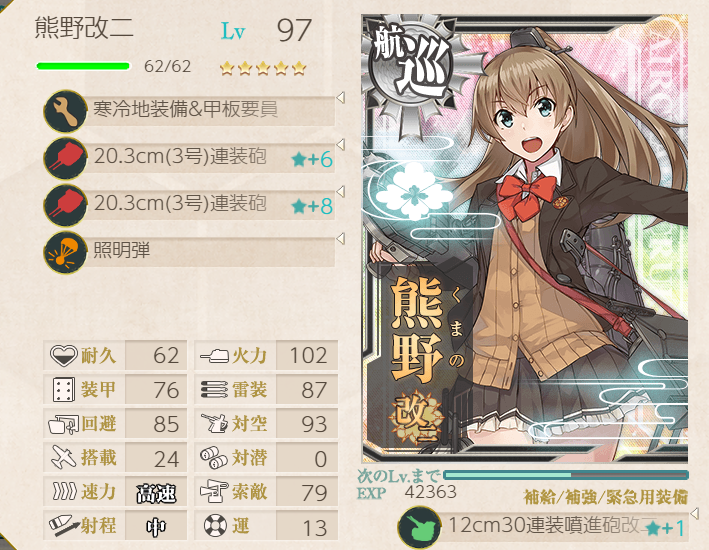
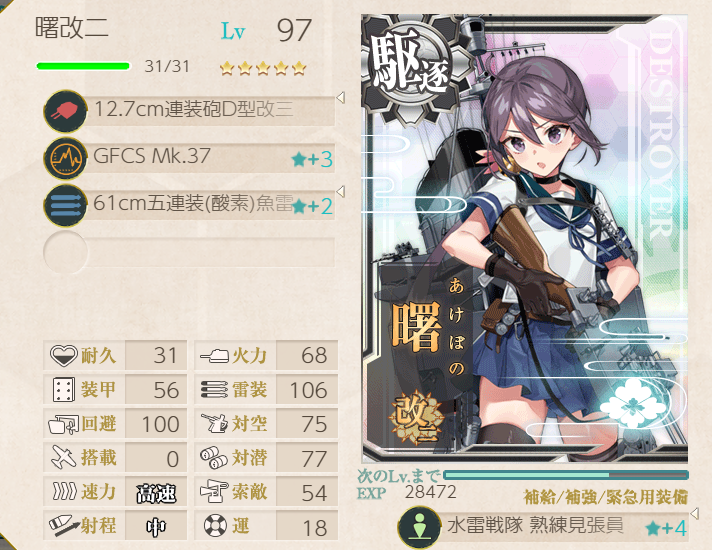
Straight-forward combined fleet, ready for the second boss.Main Fleet
 |  |
 |  |
 |  |
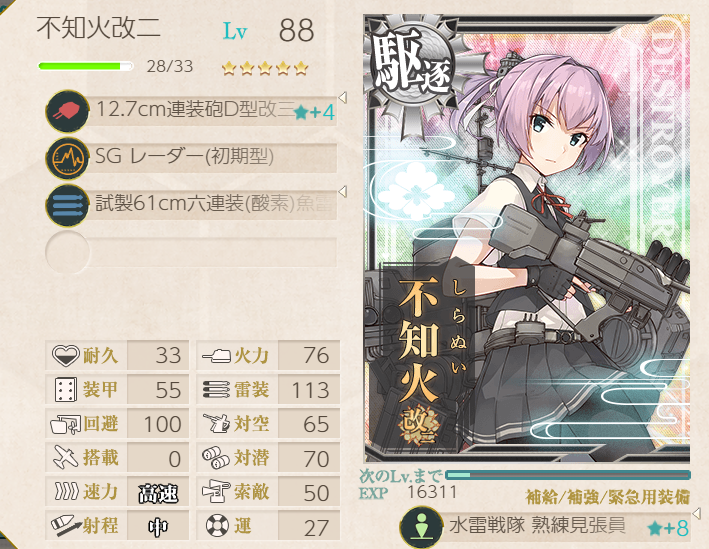
Escort Fleet
 |  |
 |  |
 |  |
 |  |
Boss 2: Transport Ships at Node R
No anti-installation equipment was used: the only focus was on the boss.Main Fleet
 |  |
 |  |
 |  |
Escort Fleet
 |  |
 |  |
 |  |
 |  |
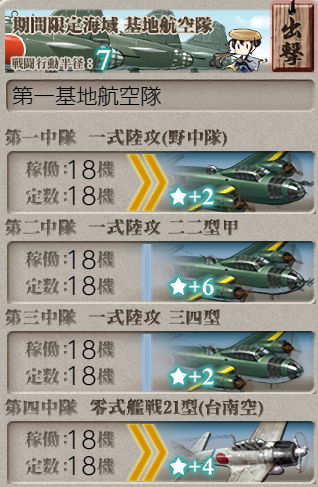
Boss support

Gimmicks, Part III
Node U
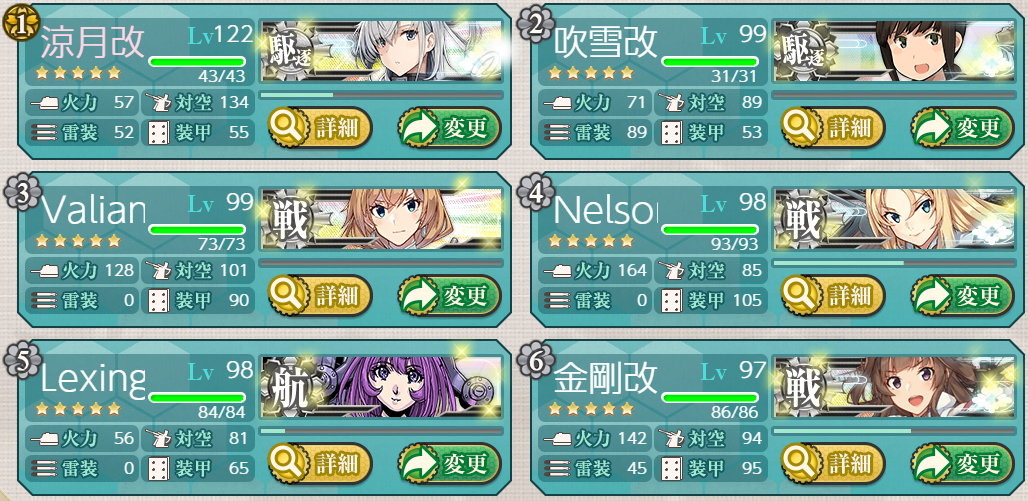
Main Fleet
 |  |
 |  |
 |  |
Escort Fleet
 |  |
 |  |
 |  |
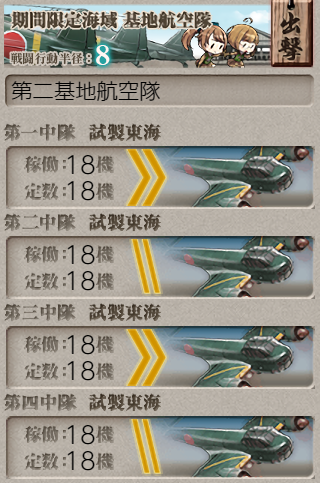 |  |
Node support
Boss 3: Non-treaty Cruiser Water Princess
Main Fleet
 |  |
 |  |
 |  |
Escort Fleet
 |  |
 |  |
 |  |
 |  |
Node support